Intro
ITGlue is a documentation service. This page guides you through the process of setting up an integration via the ITGlue API.
Reach out to the Pia Team via Partner Support if support is required.
Prerequisites
You will need the following details before setting up your ITGlue integrations. (More details about these items can be found where you enter them in the sections below.)
- API URL
- API Key
- Flexible Asset Type
Set Up Process
The Setup Process for the IT Glue integration includes the following:
Creating a Flexible Asset in ITGlue
The ITGlue integration configuration in Pia Portal requires you to provide a flexible asset type for Pia to store the documents in. You can provide an existing Flexible Asset if it is already available in your ITGlue or creating a new one following the steps below:
- Log into ITGlue as an Administrator.
- Go to Account > Flexible Asset Types
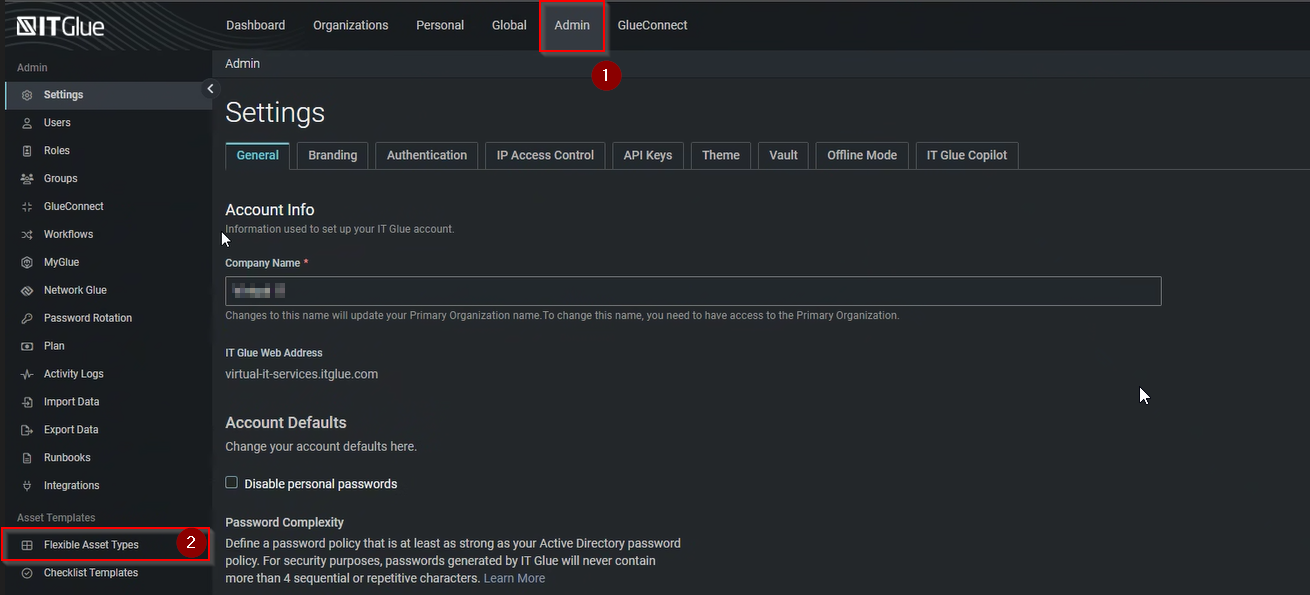
- On the Flexible Assets page, click on “New”

- Create the Flexible Asset with the information below;
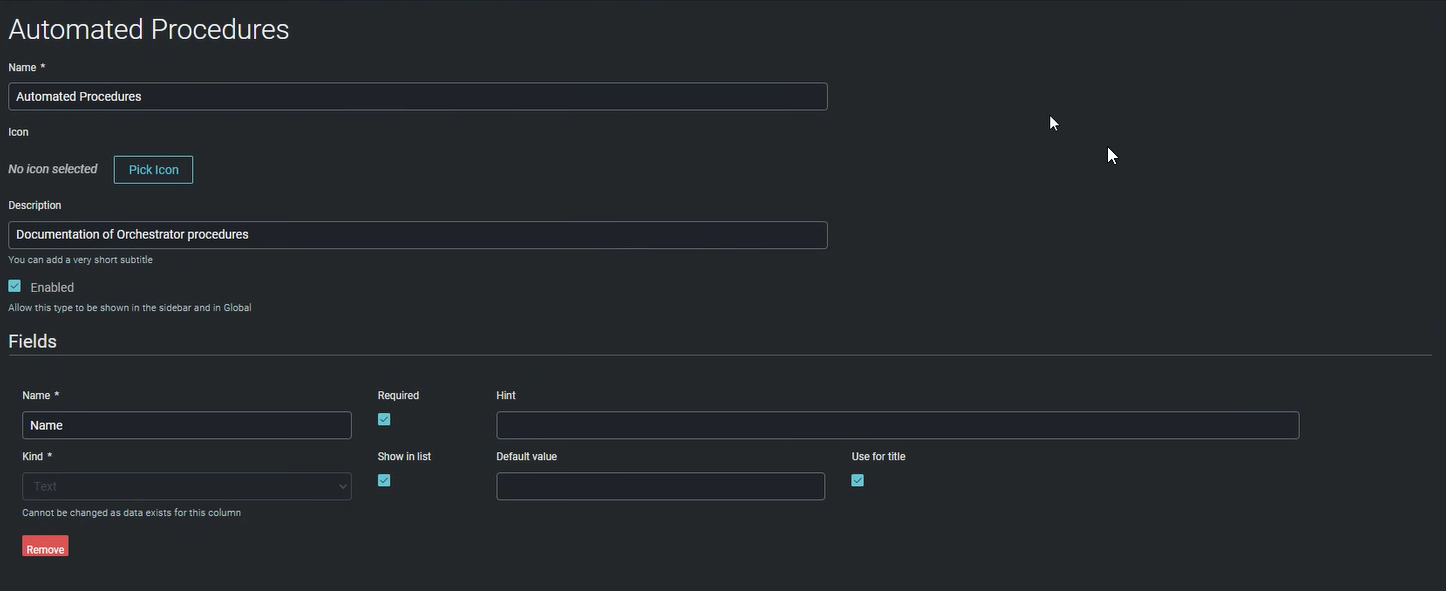
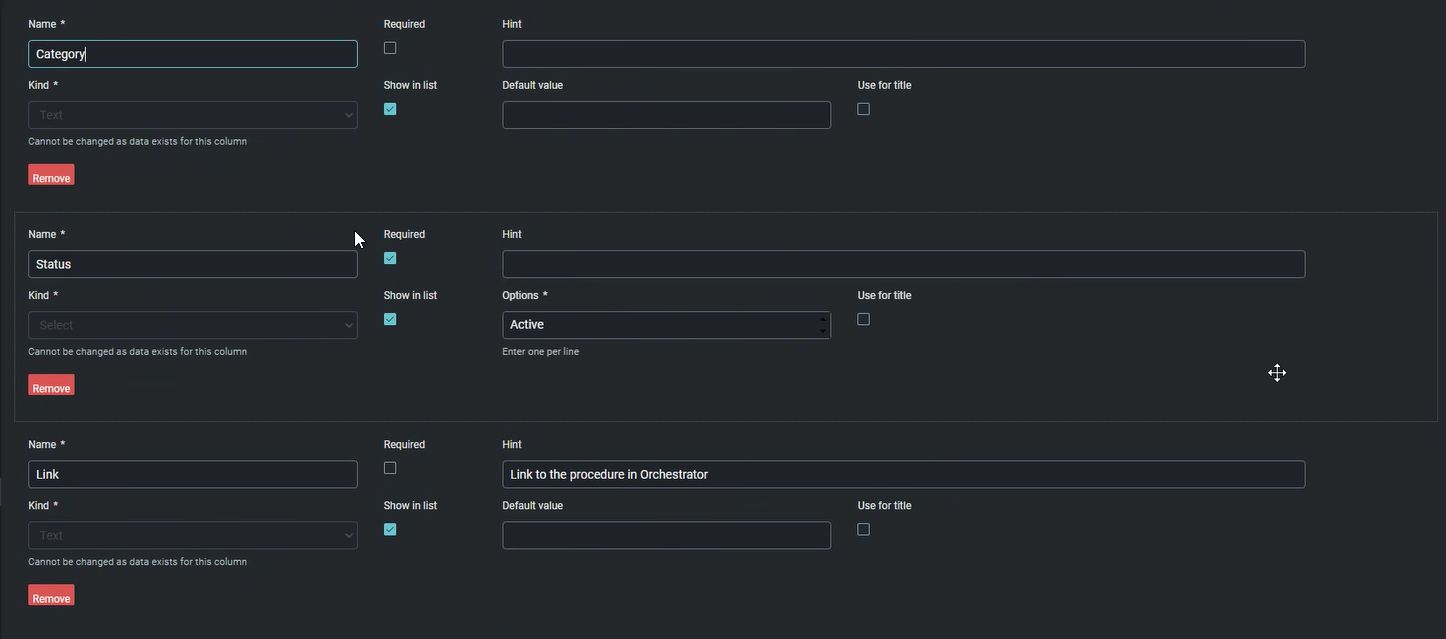
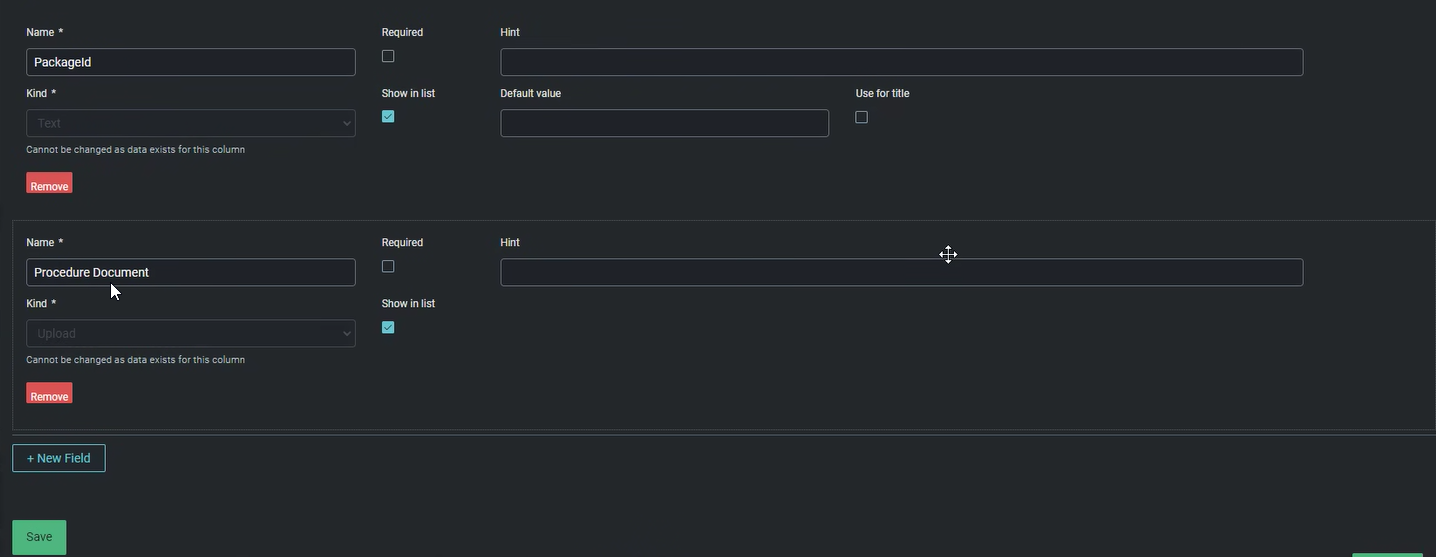
- Click "Save".
Integration Set-Up
Once the flexible asset is created, follow the steps below to create an ITGlue configuration.
Log in to your Pia portal.
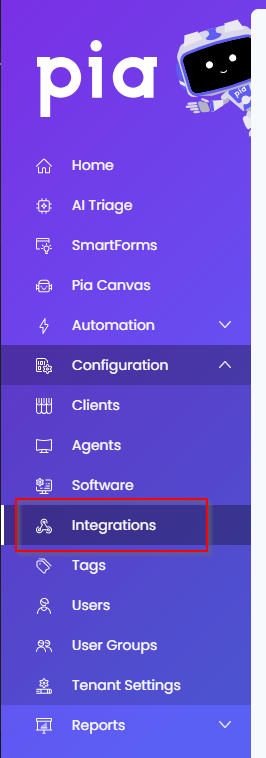
In the left menu click on Integrations
The Integrations page opens. Search for ITGlue using the search bar at the top.

Or, click on the "View All" button available in the All Integration section.

This will open up a screen that displays all the available integrations where you can navigate to ITGlue.

Click on the "Configure" button available in the widget for ITGlue. This will take you to the configuration page for ITGlue.

In this page, you can add a friendly name for the configuration in the "Configuration Name" field.

You will also see the following fields that need to be configured for ITGlue.
- URL: Enter the URL relevant to your geographic location:
- Default data centre:
https://api.itglue.com - European data centre:
https://api.eu.itglue.com - Australian data centre:
https://api.au.itglue.com
- Default data centre:
- API Key: Enter the 'API Key' value that you received from ITGlue.
For partners hosted in the Australian data centre who were migrated from the default US data centre, API access may still be restricted to the default US data centre endpoint.
- Flexible Asset Type: Enter the 'Flexible Asset Type' you set up in ITGlue to receive information from Pia.
See below at the bottom of the page if you need to create Flexible Asset for ITGlue.
- Click Save to commit the settings. (If any mandatory fields have been left blank you will receive an error message, and the missed field will have a red box around them.)
Test Integration
After setting up your Integration for ITGlue you will need to test the connection works.
Click the Test Connection button to confirm the Integration has been configured correctly.

You should receive a Connection Successful! popup box. If you receive a Can't connect to service. message, double-check the configuration details and try again.
The ITGlue Integration configuration is now complete.
How ITGlue Sync Behaviour Works
When using the ITGlue integration, certain actions within the Pia Portal automatically trigger document creation or updates in ITGlue. These sync events ensure that client documentation remains accurate and aligned with the latest configuration changes.
- Updating an engineer’s status on the client tab — synchronizes all automated procedures for that client.
- Adding or removing a tag on the client tab — synchronizes all automated procedures for that client.
- Saving a client‑level configuration form for an automation — synchronizes only the documents associated with that specific automation package.
- Changing the opt‑in mode for an automation — synchronizes only the documents associated with that specific automation package.
- Saving the global configuration form for a client — synchronizes all automated procedures for that client.