Intro
SharePoint is a web-based collaborative platform which is primarily used for document storage and company intranet sites. Using Pia, you can create automations which utilise SharePoint.
While there is a SharePoint Integration in Pia, strictly speaking it is not required for you to use SharePoint in your automations and will be deprecated in the near future. Regardless of whether you configure the Integration, you will need to make sure any client SharePoint sites you wish to integrate with have been appropriately authorised for Pia to access them.
This article covers the steps for how you can authorise your clients to grant access to Pia
For any assistance, feel free to reach out to the Pia Team via Partner Support.
Authorise Pia to Access Your SharePoint Sites
You will need to run the below command for each SharePoint site you wish to authorise for Pia to access.
The below command for "Grant-PnPAzureADAppSitePermission" will require the Pia AppId which you can obtain with the following steps:
- Navigate to the clients screen in the Pia Partner Portal
- Open a Client
- Click the Authorise (or "ReAuthorise") button
- This will take you to a Microsoft login page - there is no need to complete the consent process, you just need to copy the "client_id" value from the URL (as below) and replace the "PIA ID HERE" below with the value:

In the above example, the "PIA ID HERE" value will be "53cbd83e-e6cc-4458-bdbb-d77ff11dad30"
- Using PowerShell, run Install-Module PnP.PowerShell -Scope CurrentUser on your PC
- Run the "Connect-PnPOnline TENANTNAME.sharepoint.com -Interactive" command, replacing "TENANTNAME" with the name of the Office365 tenant for you wish to authorise
- Authenticate with a SharePoint admin account for the purpose of this authorisation process
- Run the following command: Grant-PnPAzureADAppSitePermission -AppId "PIA ID HERE" -DisplayName "Pia App" -Permissions Write -Site "https://TENANTNAME.sharepoint.com/sites/SITENAME"
If you wish to grant Pia access to the SharePoint admin center, you will also need to run the command above against the admin site - just use the URL: "https://TENANTNAME-admin.sharepoint.com" for the "Site" parameter in the command above.
The Grant-PnPAzureADAppSitePermission command has some other options which you can read about here: https://pnp.github.io/powershell/cmdlets/Grant-PnPAzureADAppSitePermission.html
Set Up Process
Here is a quick intro to setting up a new Integration. Details for the fields specific to each service are on the pages linked below.
Summary of the set up process
- Set-up Integration
- Test Integration
Set-up Integration
Log in to your Pia portal.
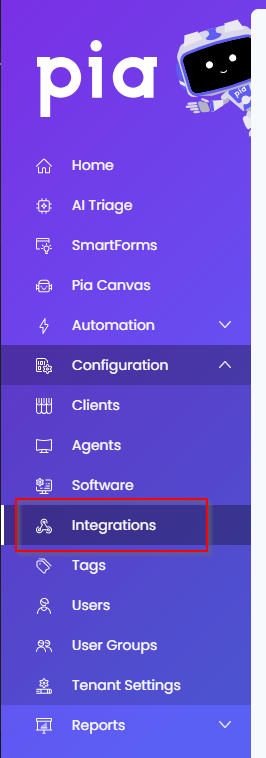
In the left menu click on Integrations
The Integrations page opens. Search for SharePoint using the search bar at the top.

Or, click on the "View All" button available in the All Integration section.

This will open up a screen that displays all the available integrations where you can navigate to SharePoint.
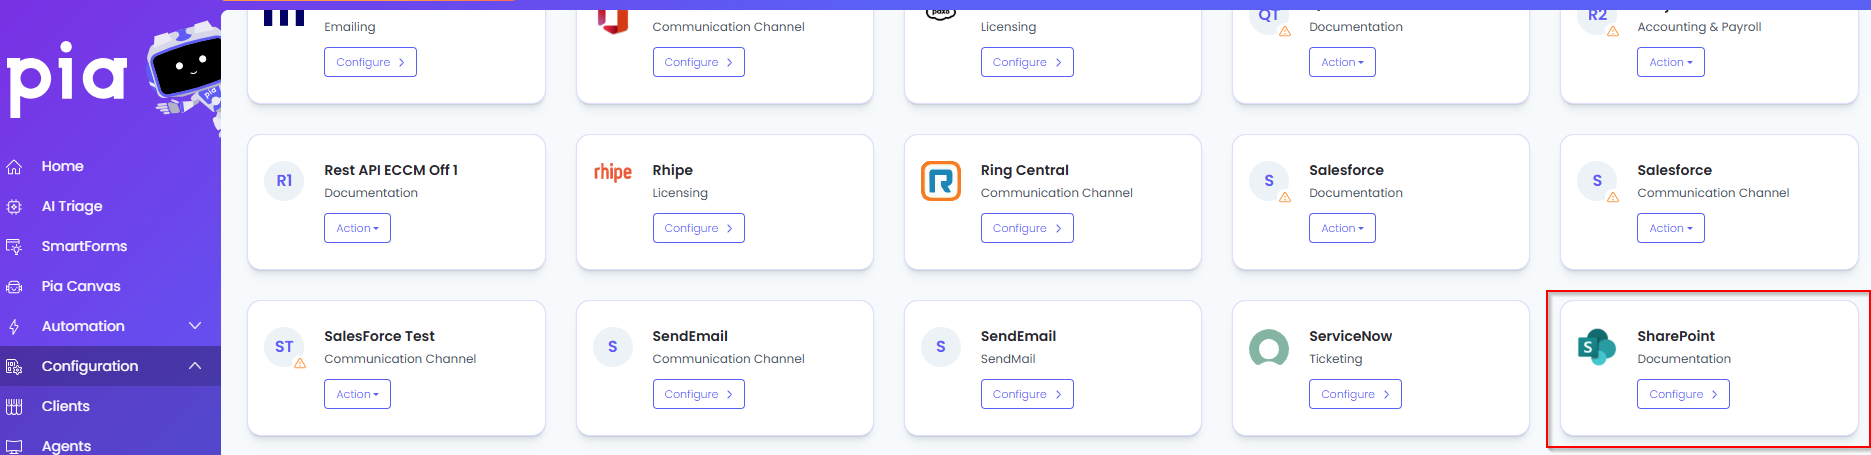
Click on the "Configure" button available in the widget for SharePoint. This will take you to the configuration page for SharePoint.

In this page, you can add a friendly name for the configuration in the "Configuration Name" field.

You will also see the following fields that need to be configured for SharePoint.
- SharePoint URL: Enter your company's SharePoint URL
- Tenant Id: Enter your Tenant Id for SharePoint
- Click Save to commit the settings. (If any mandatory fields have been left blank you will receive an error message, and the missed field will have a red box around them.)
Test Integration
After setting up your Integration for SharePoint you will need to test the connection works.
Click the Test Connection button to confirm the Integration has been configured correctly.

You should receive a Connection Successful! popup box. If you receive a Can't connect to service. message, double-check the configuration details and try again.
The SharePoint Integration configuration is now complete.