Creating your First SmartForm
This article will show you how to create a basic SmartForm. To deep dive into advanced automation concepts, follow the Automation Tutorial Series here.
Watch the video below
SmartForm Workflow
Refer to the diagram below to understand the SmartForm workflow from the time a SmartForm is selected by a Smartform User to the time the SmartForm is submitted.

To create a SmartForm Automation, you will require the same access levels that you require to create a normal automation package. For more information to user permissions, refer to this link.
Step 1: Create your package definition
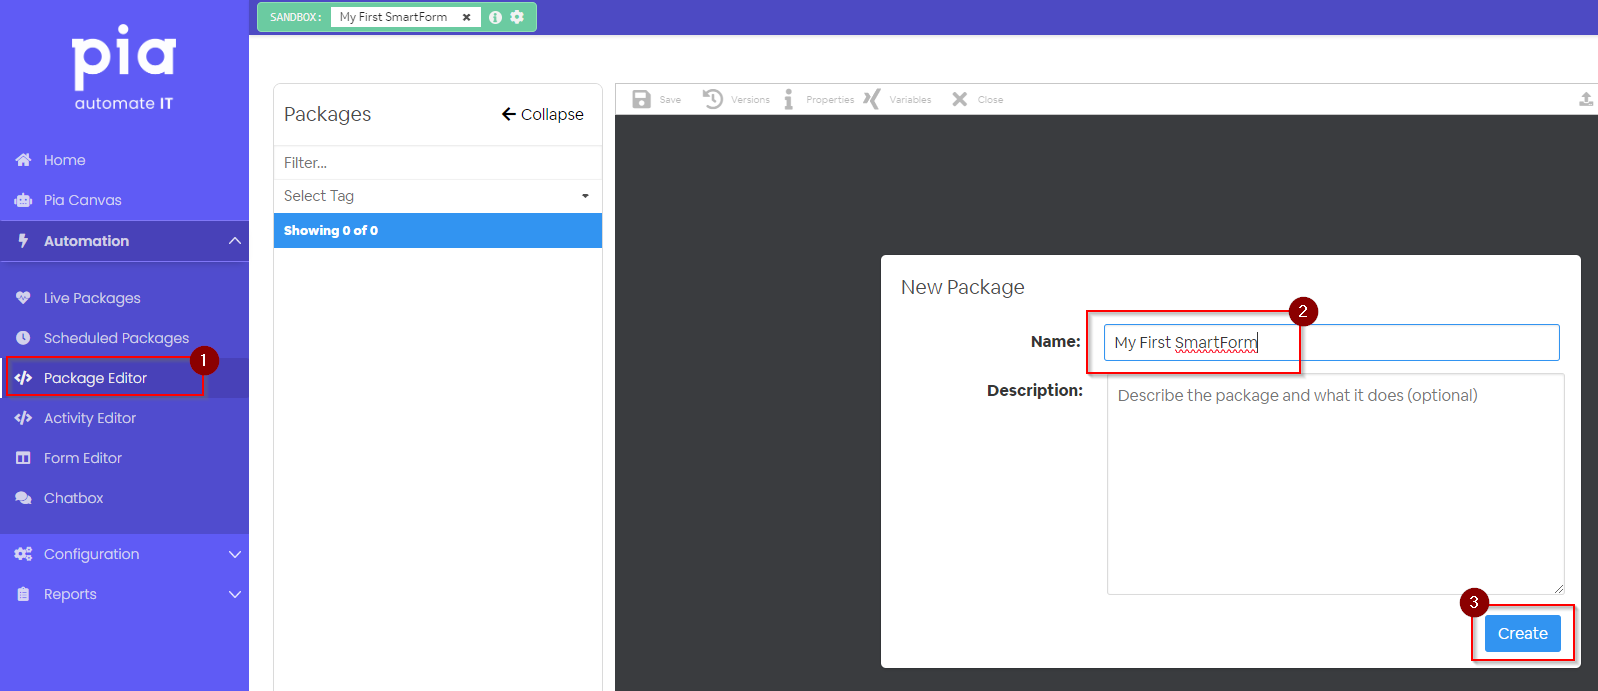
Create a Package with a name "My First SmartForm" in your Pia Portal.
💡 Learn How
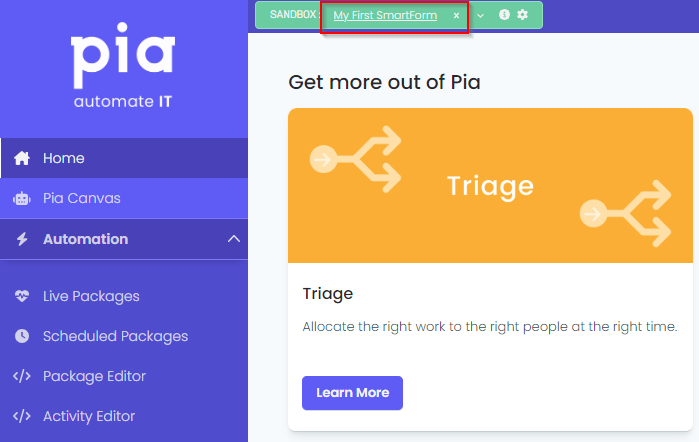
- Go to the Package Editor screen and create a package named "My First SmartForm"
Step 2: Add the 'SmartForm' condition to your package
To learn about the SmartForm condition, click on this article.
💡 Learn How
Remove the Chat Interaction condition from your package
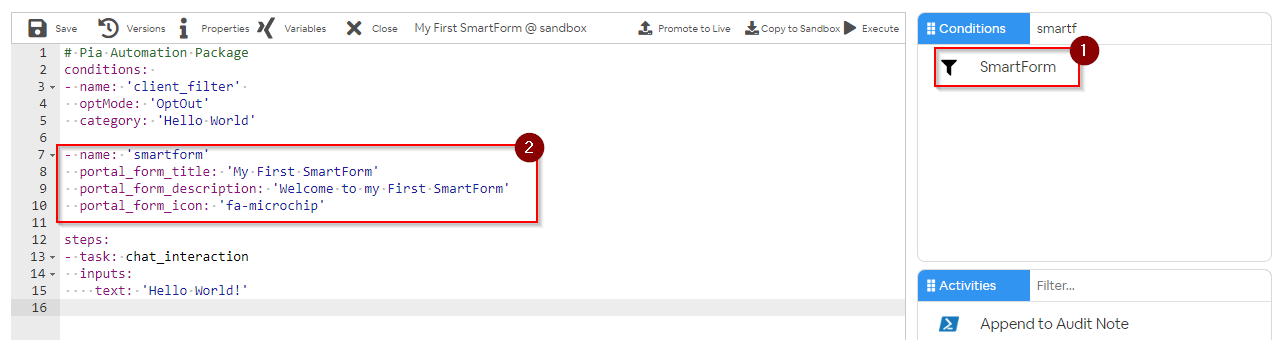
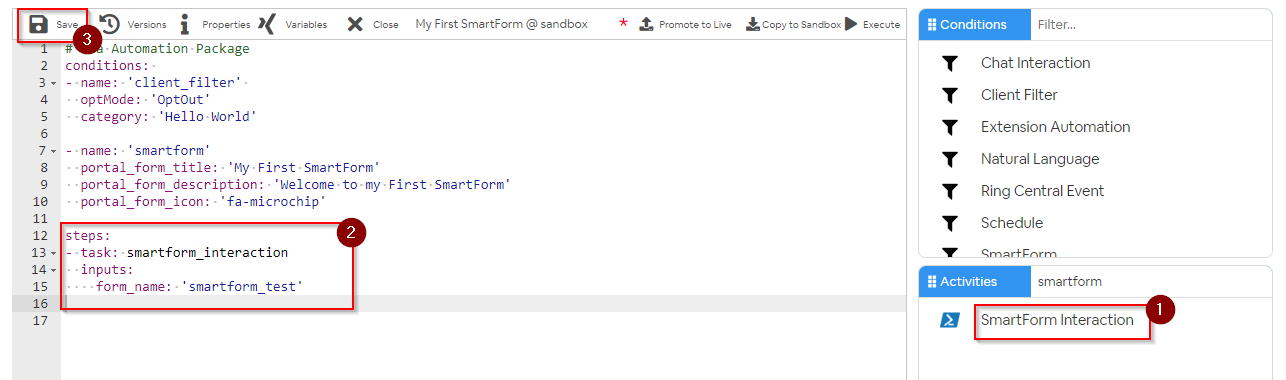
Go to the condition list on the right and select the SmartForm condition
Add the following input properties to the SmartForm condition
portal_form_title: 'My First SmartForm'
portal_form_description: 'Welcome to my First SmartForm'
portal_form_icon: 'fa-microchip'
You may leave the 'portal_form_icon' blank which will assign the default icon to the SmartFom in the SmartForms Portal. To select your icon, go to: https://fontawesome.com/icons
Step 3: Create a Form to display in the SmartForms Portal
You will need to create a form which will be displayed as a SmartForm in the SmartForms Portal.
💡 Show more...
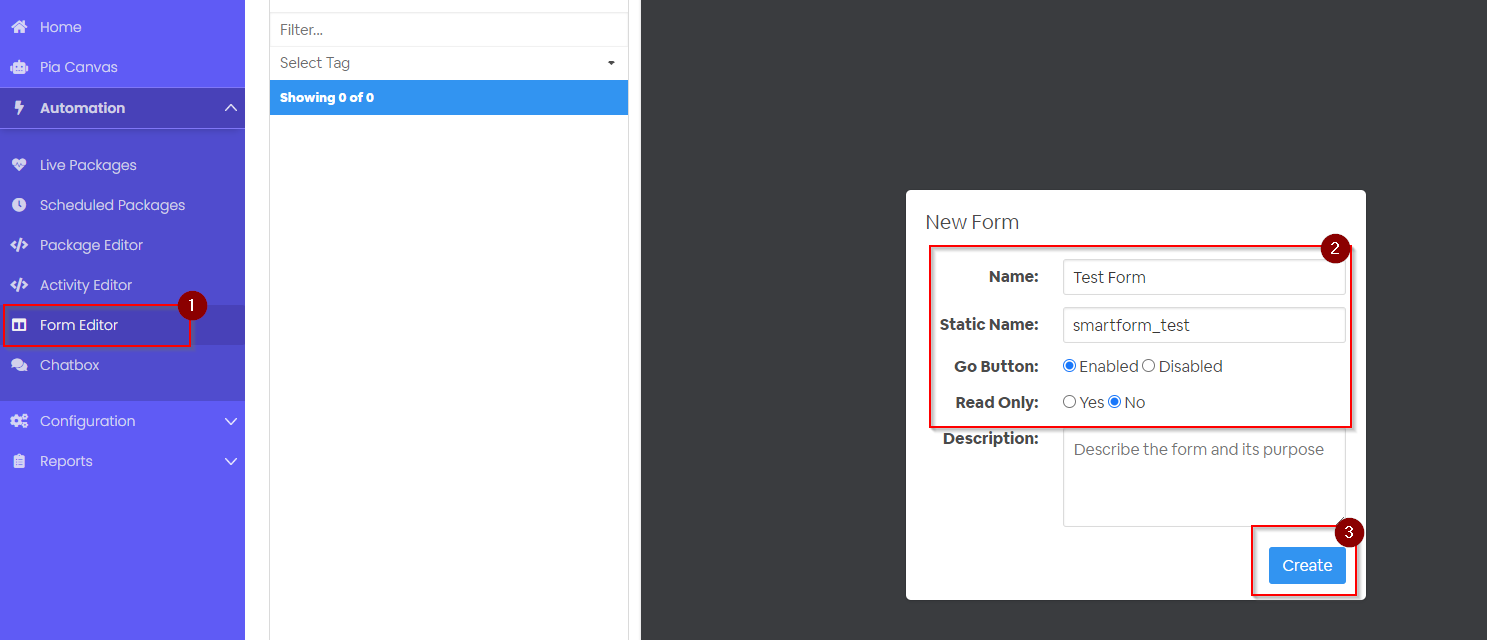
- Go to the Form Editor and create a Form with the following properties:
Name: Test Form
Static Name: smartform_test
Go Button: Enabled
Read Only: No
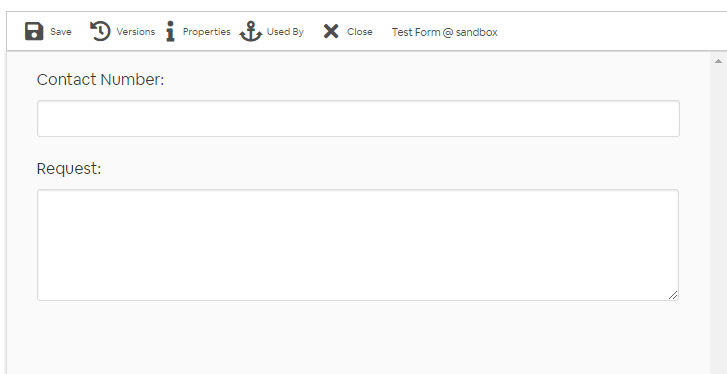
- Add the following fields to your form.
- A Number Input to add the contact number of the SmartForm User
- A Multi-Line Input to add the Request for the SmartForm User
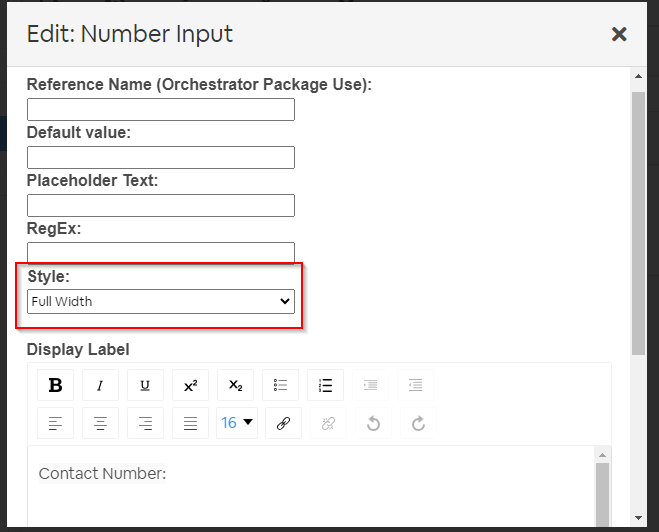
Use the style drop-down in the Edit screen for each field to determine how your form fields will be displayed in the SmartForms Portal. For this example, both of the Form Fields have the "Style" set as Full Width.
- Save your form
Step 4: Add the 'SmartForm Interaction' Activity to your package
To learn about the SmartForm Activity, click on this article.
💡 Learn How
Remove the Chat Interaction Activity from your package
Go to the Activity list on the right and select the SmartForm Interaction Activity
Add the following input properties to the SmartForm Interaction Activity:
form_name: 'smartform_test'
form_def: Not Required for this example
This will be the static name of the Form that we have created in Step 3.
- Save Your Package
Step 5: Publish your SmartForm Package
The SmartForm Automations are not supported in the Sandbox Mode. So in order for you to be able to test your SmartForm, you will need to publish your package.
Since the SmartForm Automations can only be tested in the Live Mode, you will need to be mindful of the package you are creating and the actions that it will perform.
SmartForms that you publish in Live Mode will not be activated automatically. So when you are testing, you can activate your Smartform for your test client such as your company. The below steps will show you how to to that.
Step 6: Enable your SmartForm for a Client
Once your SmartForm Automation is Promoted to Live, the next step is to enable your SmartForm for a Client.
💡 Learn How
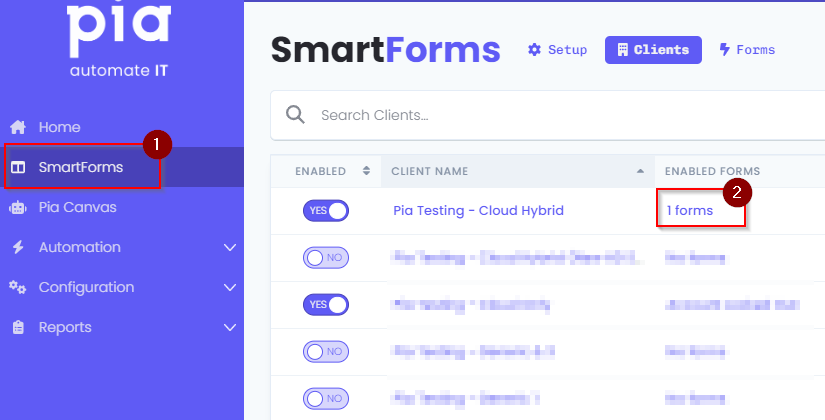
- Go to the SmartForms screen in your Partner Portal in Live Mode.
The SmartForms Settings screen is only available in Live Mode.
make sure you exit your sandbox first before accessing the SmartForms settings screen.
- In the Clients Tab, Select the "Enabled" Forms" for the client that has SmartForms Enabled
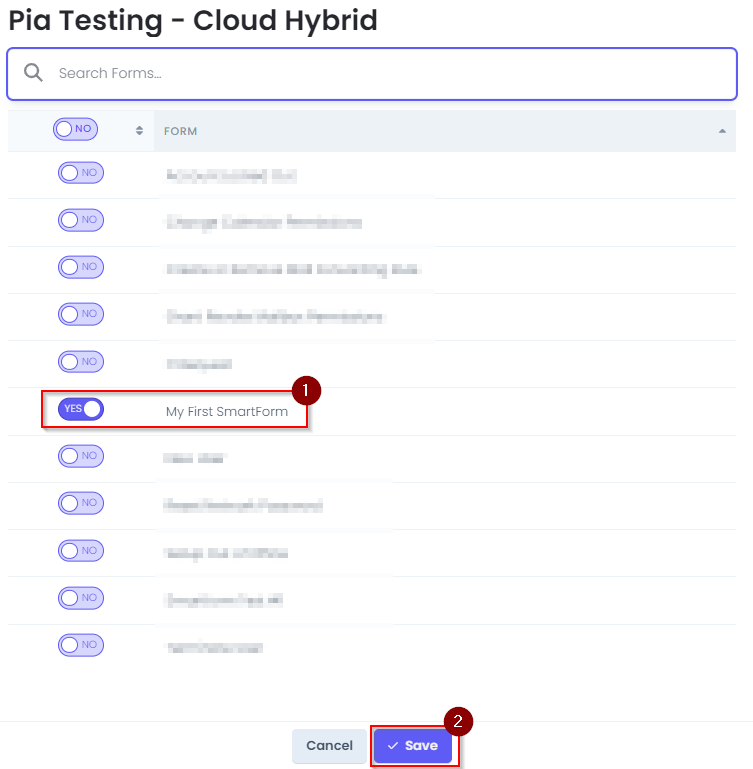
- In the pop-up, toggle ON your SmartForm for the selected client and Click 'Save'
You can make additional changes to your SmartForm through the available configuration options in the Forms Tab. To learn more, click here.
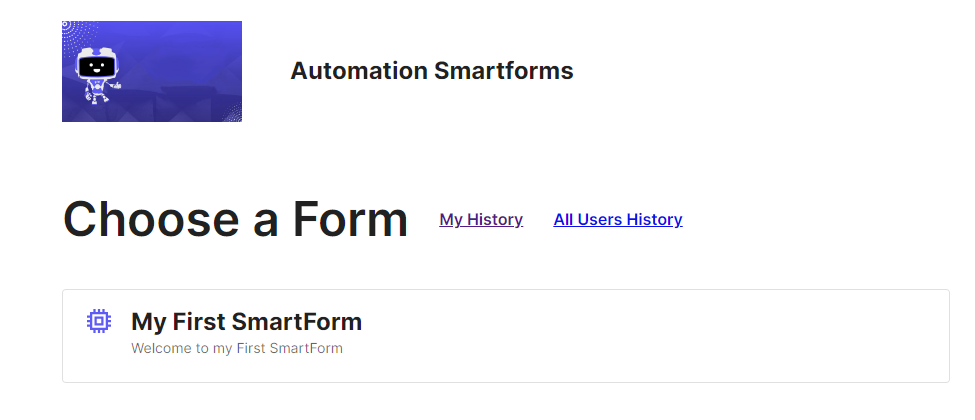
Your SmartForm is now Ready to Go!
Testing your SmartForm
To test your SmartForm, log in to your SmartForms Portal.
Your SmartForm will now be available in the list to select and start testing.