Setup Custom Integrations
We have a vibrant community of automation engineers (both Pia staff and other MSPs) solving the same problems as you! For examples of how to use the new custom integration feature, the integration experience or to ask questions, jump on our discord here: Discord Community.
Overview
The Integration Experience feature makes working with integrations easier for Automation Engineers (You)!
With the Integration Experience, you can:
- Create automations in Pia which securely connect to external APIs without having to worry too much about how you are going to store and handle your API token
- Think less about writing API code for handling throttling or retrying API calls on error codes - Pia's integration experience will handle that for you!
- Focus more on the solution you are trying to create and less on the implementation details of how APIs work
- Integrate more things into your automation workflows with Pia!
There are 2 main flows for how you can currently take advantage of this feature in your automations:
- To integrate to a REST API with bearer or basic authentication you can use the integration experience to not only store your API credentials, but also for Pia to handle the API calls + throttling and retry behavior on your behalf
- To integrate any other API protocol or authentication method which is not currently supported, you can still use the integration experience to store your credentials and your automation will retrieve them at runtime
If you need to add an integration to your automation, we recommend that you start using this feature. Jump on the discord and let us know your feedback!
We will be expanding the functionality in the coming months, here's an idea of what we are thinking about:
- More support for REST API authentication methods - if one of the APIs you are using isn't supported, post it in the discord and we'll get right on it!
- More support for protocols other than REST API - post this in the discord too, we will address these based on demand, but we need to hear from you!
- API call logging, so you can see how many API calls you are making to a particular integration
- Automatic API action discovery - we will make it even easier to use integrations in your automations by automatically generating activities from the API endpoints for APIs which support the Open API specification
Setup Custom Integrations
When the application you wish to integrate to isn't in our Featured list, you can add your own.
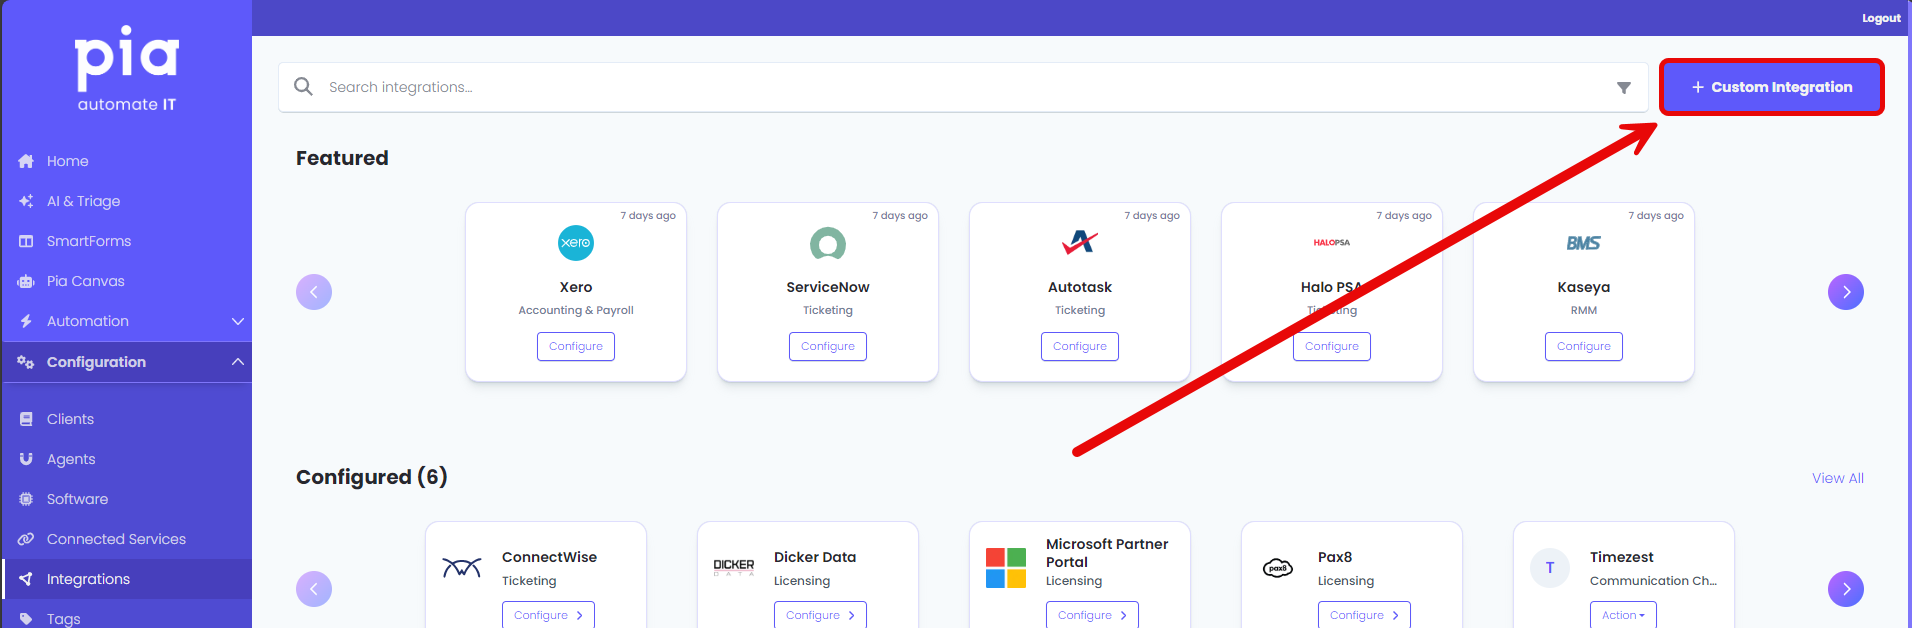
Step One: Add Custom Integration
In the Integrations Screen, click the + Custom Integration button (top right hand corner).
Complete all required fields (*) on the New Integration screen.

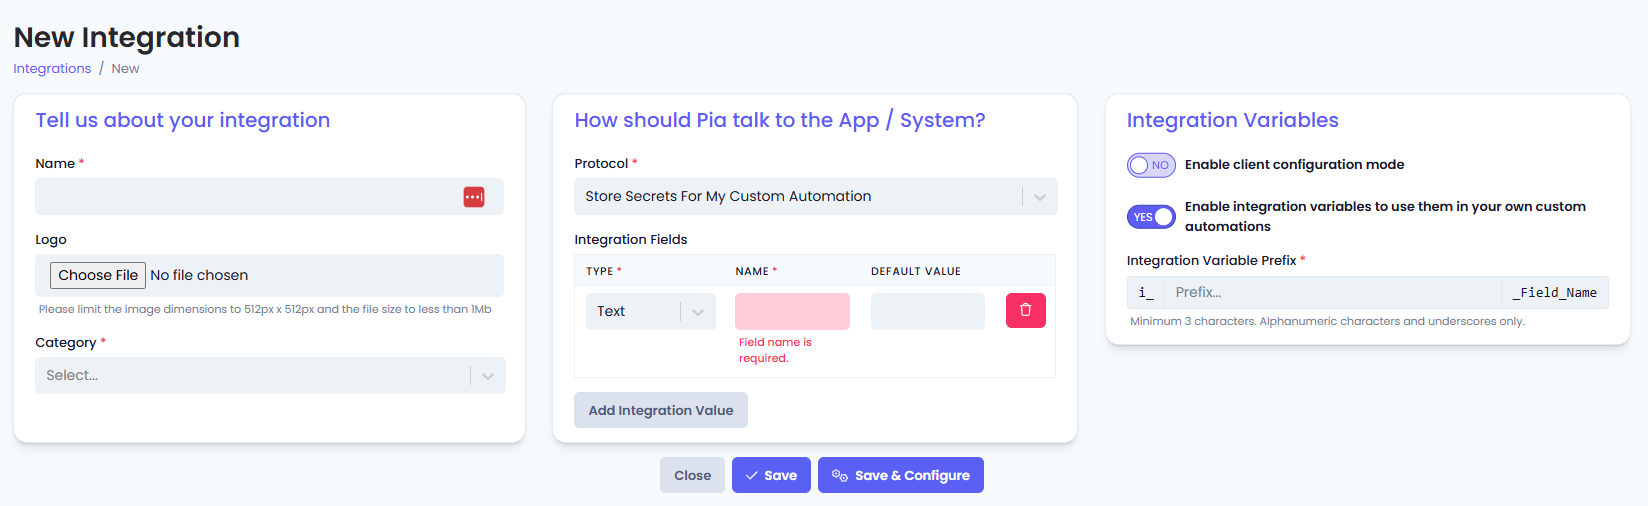
Tell use about your integration
- Name:* Enter a name for your Custom Integration
- Logo (Optional): Upload an image with max dimensions: 512px x 512px and the file size to less than 1Mb.
- Category:* Select a category which closely describes your integration
How should Pia Talk to the App / System?
For Pia to speak the same language of your API, we need to know a few key details.
- Protocol: Select the protocol which Pia will use to connect to your API. Currently, there are two options:
- Rest API
- Store Secrets for My Custom Automation
Rest API
- Authentication Type: Select one of the authentication types - read more below about how these options can be used.
| Authentication Types | Auth Type definition |
|---|---|
| Bearer Auth with API Key | API headers are passed in as "Authorization: Bearer APIKEY" |
| Basic Auth with Username and Password | API headers are passed in as "Authorization: Basic BASE64_ENCODED(USERNAME:PASSWORD)" |
- API URL: Select either:
- Fixed Global base URL - for APIs which are globally hosted at a single address, the URL will not change
- API URL is not globally fixed - for APIs which have custom URLs, are region specific or are unique to your account with the software vendor. Select this option if you need to be able to configure Pia to connect to multiple different URLs for the same API based on any of the aforementioned factors.
Store Secrets for My Custom Automation Store your secrets within the integration configuration that you can later use within your automations.
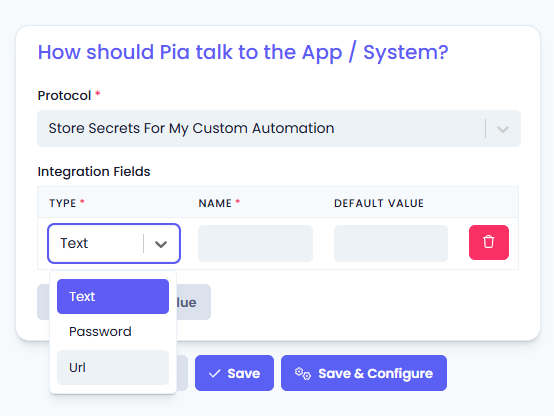
- Integration Fields: Set the integration field based on the following 3 data types:
- Text
- Password
- URL
- Integration Variables: Depending on the Protocol and Authentication Type you have selected, these details will be automatically populated with the bare minimum requirements to connect to your API. Specify any additional connection details you want Pia to send to the API so your automation can retrieve them later for connecting to the API.
Note: You only need to specify the names and types of values for Pia to store. The values themselves will be added on the "Configure" screen, refer to "Step Two: Configure Your Integration" below.
Integration Variables
Enable Client Configuration mode: This feature will allow you to select clients when creating a configuration profile for an integration. If you have an integration that has different API keys per client, you can turn this feature ON so that when the automation runs, it will use the API credentials of the client you have selected in the configuration to communicate with the integration.
An example of Integration where you might use this feature is Duo Security. Duo provides unique API keys per client which requires you to store these API keys separately per client. With the client configuration mode enabled, you can create separate configuration profiles for each client so that any automation that uses the Duo integration will use the API keys in the context of the configured client.
- Enable Integration Variables: To use the custom integration, you must have integration variables enabled. Read more under "Step Three: Use the integration in My Automation" below on how to use these variables in your automation.
- Integration Variable Prefix: Enter a prefix for the variable name to uniquely identify your automation (e.g. for Microsoft Dynamics CRM, you may use an abbreviation such as mscrm).
Integration Behavior
This field will be hidden if you have selected Store Secrets for My Custom Automation Protocol.
Pia implements an API proxy which will redirect API calls made in your automations through Pia. Pia then forwards the request to the target API. With Pia acting as an intermediary, Pia can handle error scenarios for your automation. Using the Pia Integration Proxy is also more secure, as Pia will issue your automation a one time token when your automation attempts to use the integration, rather than your automation using/seeing the raw API Keys.
With the new integrations experience, the API proxy is enabled by default. You can configure a couple of associated behaviors or turn them off completely. Read more below to understand the scenarios where you may wish to do this.
It is recommended to leave these settings ON and leave the integration proxy ENABLED.
Retry Behavior on Server, Network and Auth Errors
Pia will retry API calls on standard http error codes - this is helpful to have robust behavior, reducing network timeouts and other intermittent errors.Automatic Retry Throttle Behavior
Pia will automatically handle API Rate Limiting/Traffic Shaping scenarios where throttling is done via HTTP codes (standard).Advanced > Disable Integration Proxy
The Proxy can be disabled, if the API call doesn't work. To disable, change the toggle to Yes
Instances where you may need to disable the Integration Proxy behavior:
- If your automation is running on an agent and talking to the API of an application which is not available on the public internet. All integrations must be available and accessible on a Public Network.
- Cases where your API call needs to maintain a persistent connection for streaming applications. Its unlikely you would need this behavior for a Pia Automation.
- In case you have any issues using your new integrations with Pia, you may want to disable the integration proxy feature while troubleshooting.
Once you are done, click "Save and Configure" - this will take you to the configuration screen, refer to the next step.
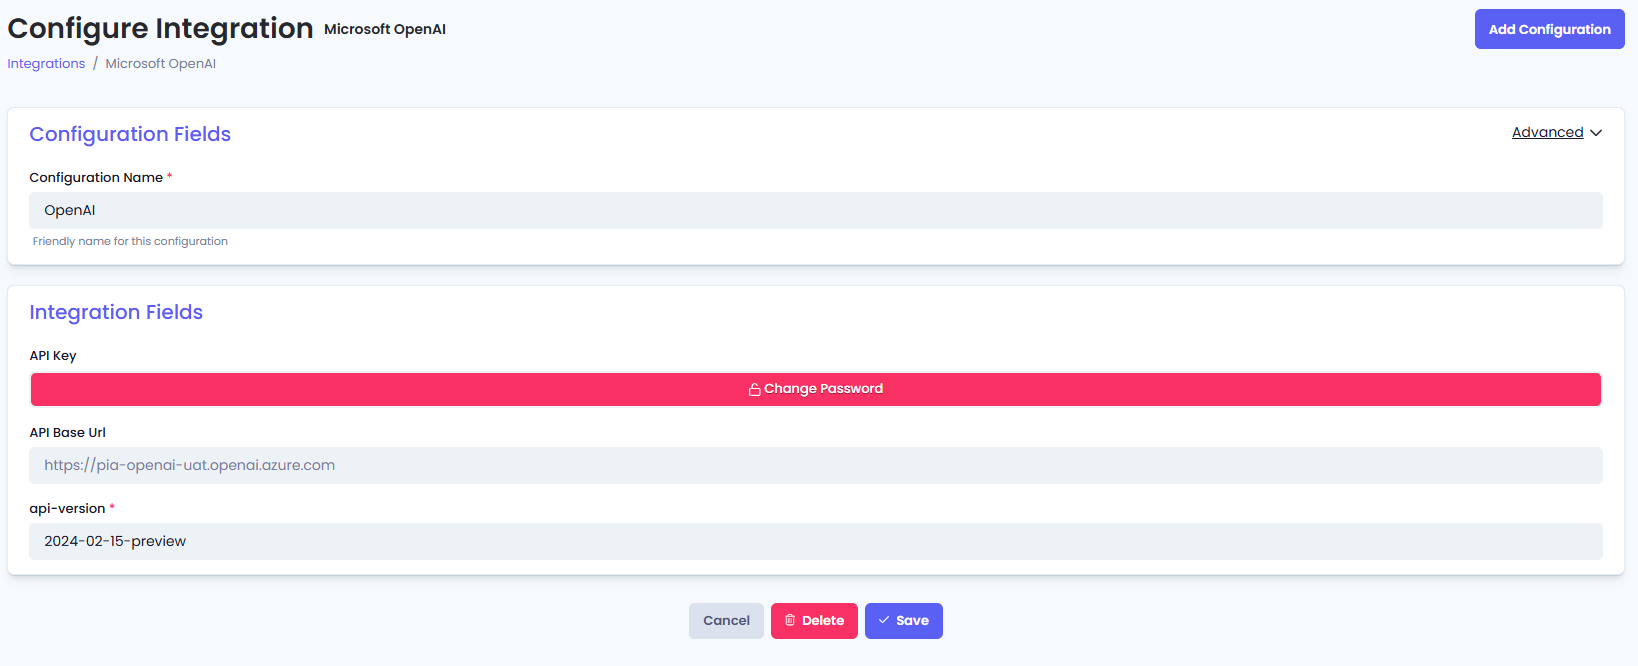
Step Two: Configure your Integration
After creating your new custom integration, you will need to configure the following details:
Advanced Settings
- Postfix: Setup the postfix value that will be used when creating integration variable that can be used in your automation
- Set as Primary Configuration: In case of multiple configuration, set a single configuration as Primary by turning this toggle ON
Your API values which you can later use to make API calls via your automation. To do this, simply fill out the API details after clicking "Save and Configure" when you have created your integration. Here, you can enter the URL, API Key and any other values required by your integration.
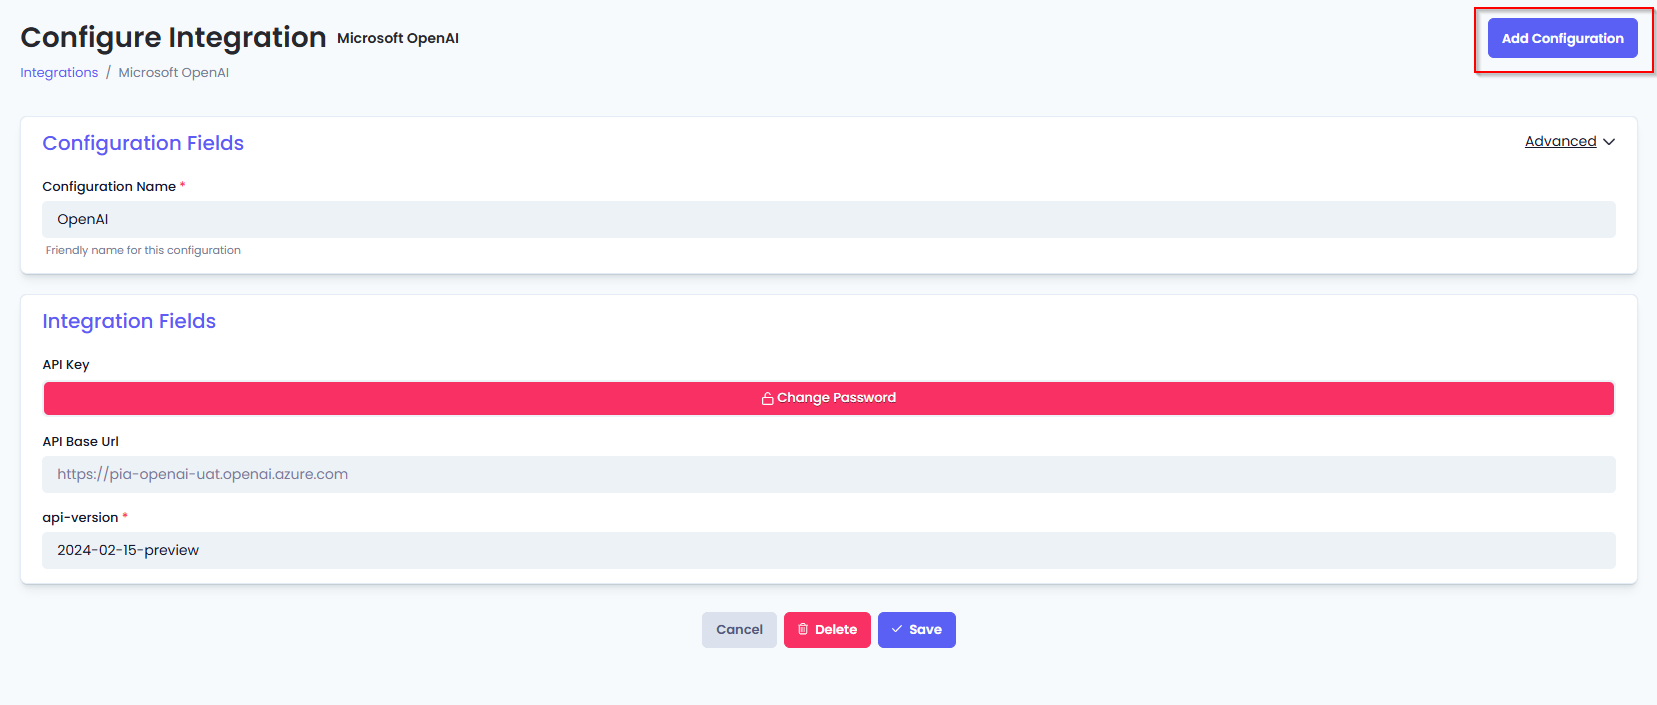
Additional/Multiple Configurations for an Integration
Additional/Multiple Configurations can be added to the same Integration. If you have multiple configurations, a dropdown appears at the top showing all of the current configurations for the integration.
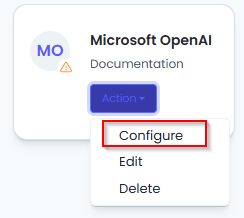
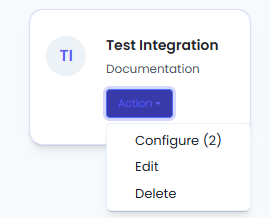
- Find the respective Integration, click Action > Configure.
- Add Configuration button (in top right hand corner of the page).
- The Configuration dropdown displays the Configuration Name (*) . Before you type a name, it will display as
<Name Not Set>.
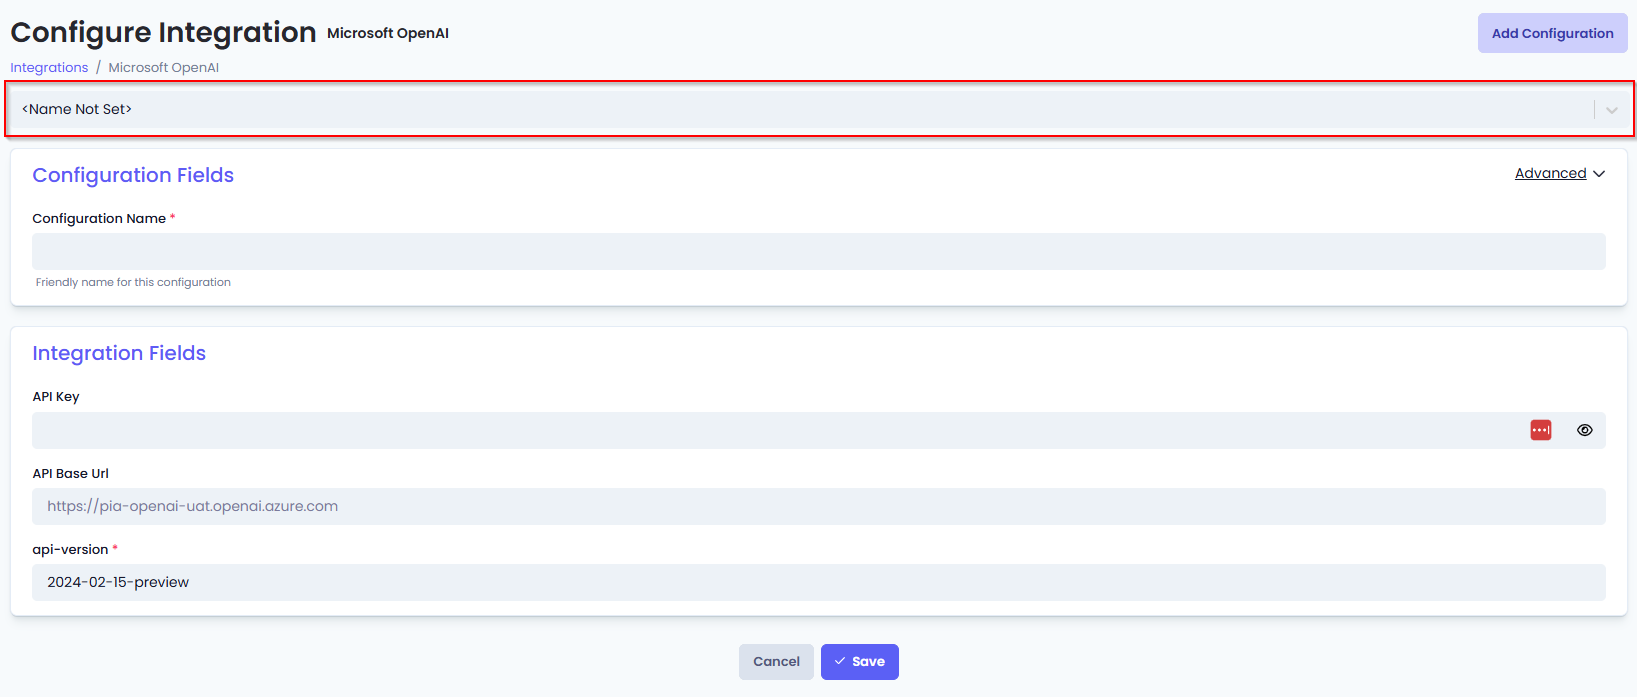
- Integration Fields
For Bearer Auth with API Key
- API Key
- API Base URL
For Basic Auth with Username and Password
- Username
- Password
- API Base URL
- Click Save
Step Three: Build your Automation
Now that you have created a custom integration and configured it, you can move on to create your custom automation!
Follow the tutorial here: Making use of a custom integration in your own automation
Deleting Integrations
You can either permanently delete a custom integration or reset all the configuration of a built in integration using the delete option.
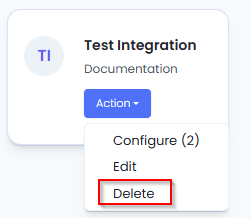
- Click on the Action button available within the integration widget
- Click on Delete option
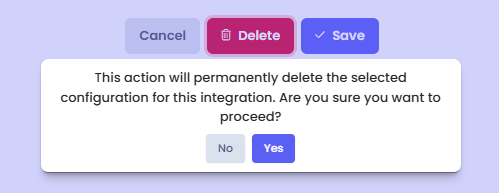
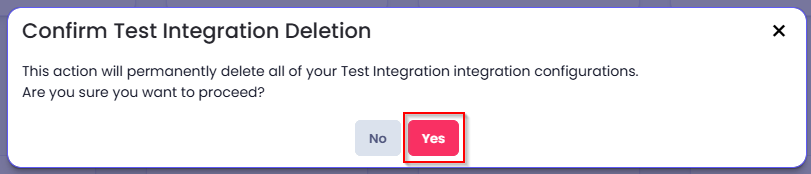
- A pop-up will appear asking you to confirm your actions. Click Yes to proceed with the deletion. This action will delete all of your integration configurations.
Alternatively,
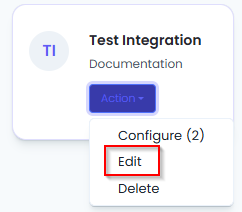
- Click on the Action button available within the integration widget
- Click on the Edit button
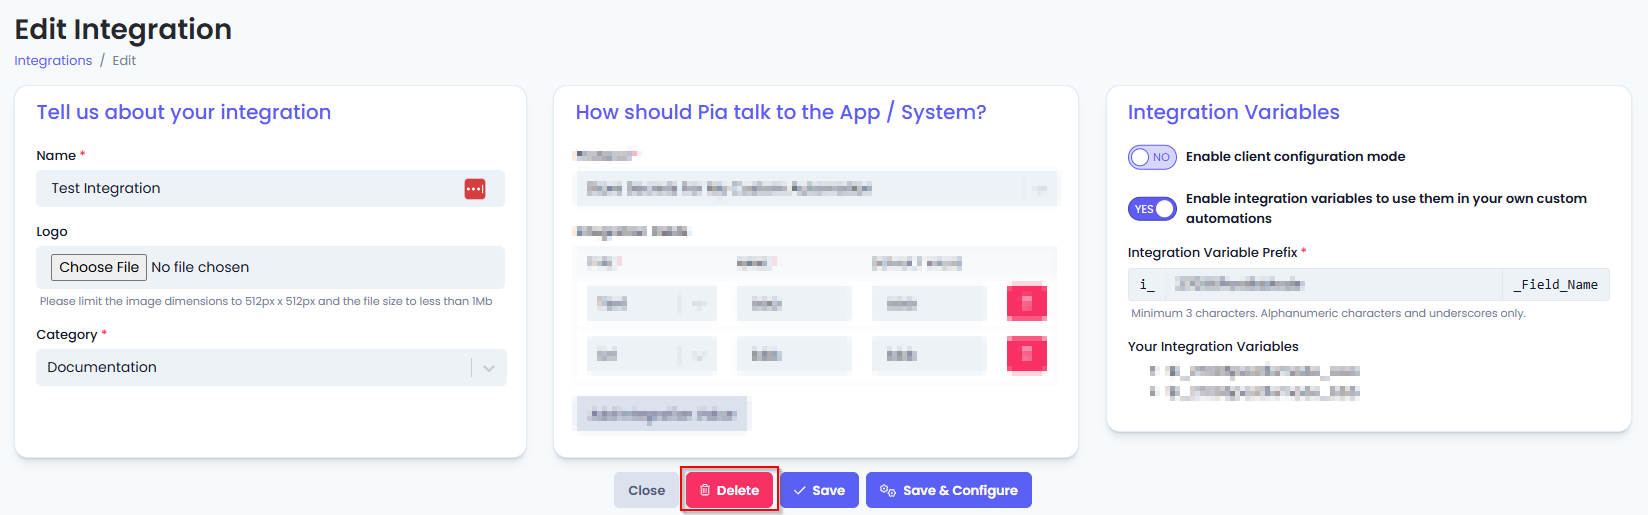
- Click on Delete option
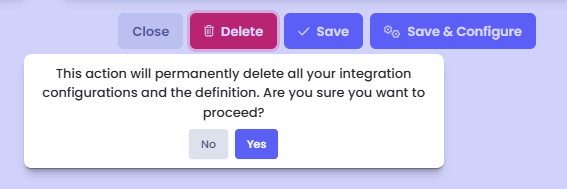
- A pop-up will appear asking you to confirm your actions. Click Yes to proceed with the deletion. This action will delete all of your integration configurations.
If you have multiple configurations made for the same integration, you can choose to delete a single configuration following the steps below:
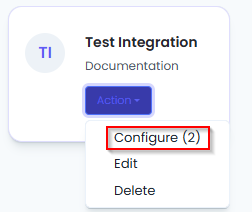
Click on the Action button available within the integration widget
Click on the Configure button
- Click on Delete button
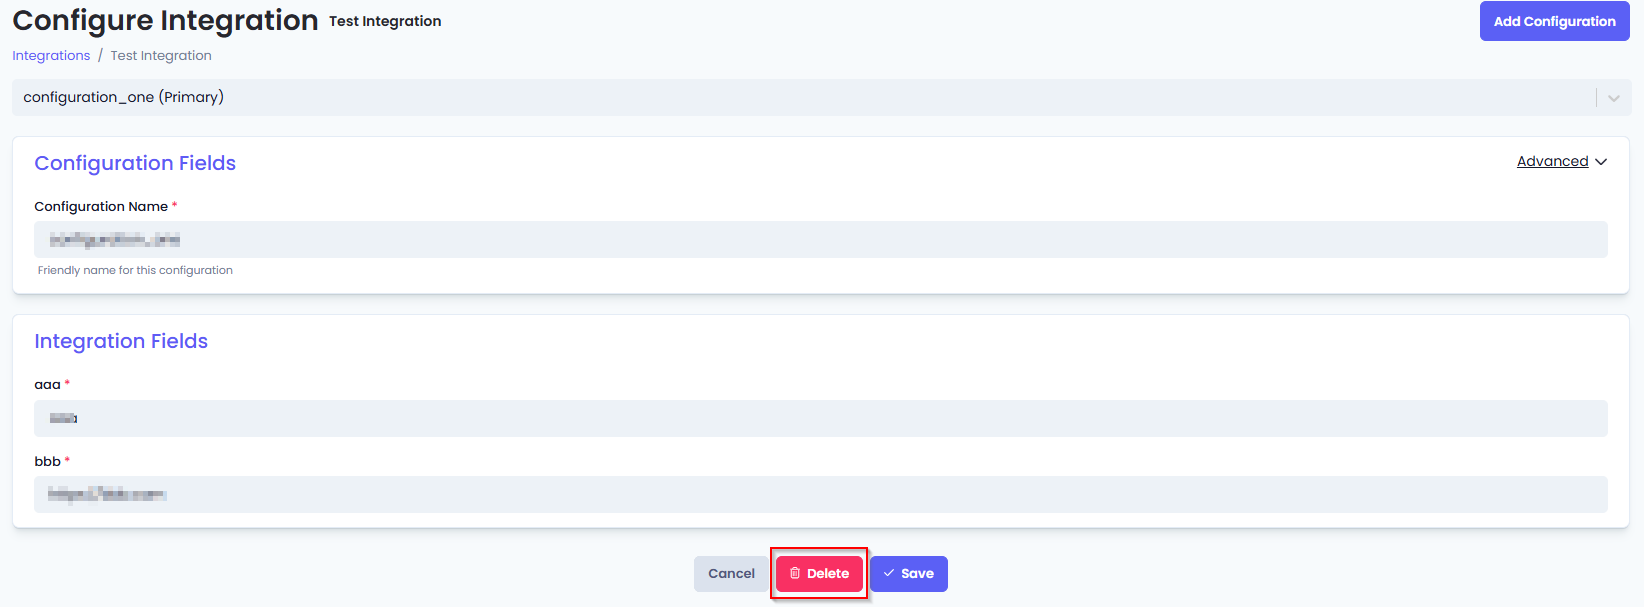
- A pop-up will appear asking you to confirm your actions. Click Yes to proceed with the deletion. This will delete the current configuration you are in.