Client Filter Condition
Overview
The Client Filter Condition can be added to your automation package so that it can only execute on a per-client basis. Each time your package executes, it will always be in the context of a client.
This gives your package added functionality of "Client Configuration" i.e. being configurable on a per client basis. You can create a client configuration form for your package so that you can configure separate options for each client that you want to enable the package for. This configuration is exposed via the Client Configuration screen in the Pia Partner Portal.
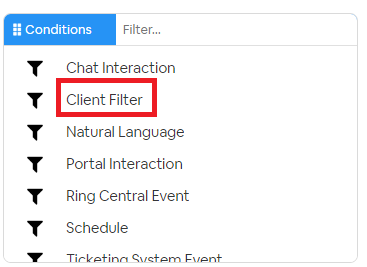
The Client Filter condition can be selected in the conditions menu of the package editor:
In the example below, the client_filter is combined with a chat interaction condition:
conditions:
- name: 'client_filter'
  optMode: 'OptOut'
  tags: 'Printer'
  category: 'Printers'

- name: 'chat'
  option_button: 'Install Canon Printer'
  option_text: 'Install the upstairs canon printer'
  option_category: 'Printers'

steps:
- task: inline_powershell
  inputs:
    script: |
            Write-Host "Install printer here"
Condition Behavior
The client condition is not able to trigger a package execution on its own (unlike the schedule and chat interaction conditions), this makes the Client Filter condition unique as it has no effect without being used in conjunction with another condition.
Here is a list of combinations for using the client condition with other conditions and how the client condition modifies the behaviors of those conditions:
| Condition | Behavior |
|---|---|
| Chat Interaction (chat) | The chat condition cannot be used on its own and must be used in combination with the client condition. This allows you to configure automations in Pia Chatbot on a per client basis. |
| Schedule | The schedule condition may be combined with a client condition to execute on a per-client basis for each time the automation is triggered. |
Input Properties
Use properties to modify the behavior of the condition.
Property Name: optMode
Property Required: Yes
Property Description: Define the default activation state for the package.
Property Options:
- OptIn: The default activation state is "Opt In", meaning that users of the package must "Opt In" to the package via the client configuration screen in the Pia Partner Portal.
- OptOut: The default activation state is "Opt Out", meaning that the package is active by default for all clients.
Property Name: lockTo
Property Required: No
Property Description: Lock the package to a specific client (or clients), so that the package can only be executed for those clients.
This is displayed on the client dashboard as shown below:

Property Name: tags
Property Required: No
Property Description: Specify tags for which the client must meet before the package will apply to a client.
- lockTo ignores this property and will still activate for the specified client ids.
- optMode respects the tags you specify here. For example, if you use OptMode=OptOut, the package will only be activated for clients with matching tags as specified in this property.
You may specify multiple tags with "AND" and "OR" logic by using a comma "," and equals "=" respectively. If you use "AND" alongside "OR", just be aware that "OR" is evaluated first.
Examples:
- The following means the client must have both the Backup Radar AND Agents tags for this package to apply: tags: 'Backup Radar,Agents'
- The following means that the client must have one of the Cloud Hybrid OR Cloud Only tags for this package to apply: tags: 'Cloud Hybrid=Cloud Only'
- The following means that the client must have both the "Agents" tag AND one of the "Cloud Hybrid" or "Cloud Only" tags. tags: 'Agents,Cloud Hybrid=Cloud Only'
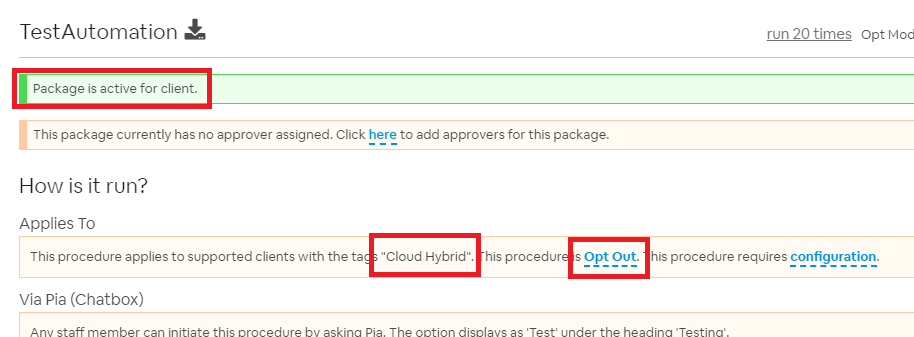
When the package OptMode is set to "OptOut" and tags are set on the client on the client dashboard (as shown below):

Then the automation will be enabled automatically for that client (as shown on the client dashboard):
Property Name: category
Property Required: No
Property Description: The category which this package will display under in the client dashboard:

Property Name: variables_form
Property Required: No
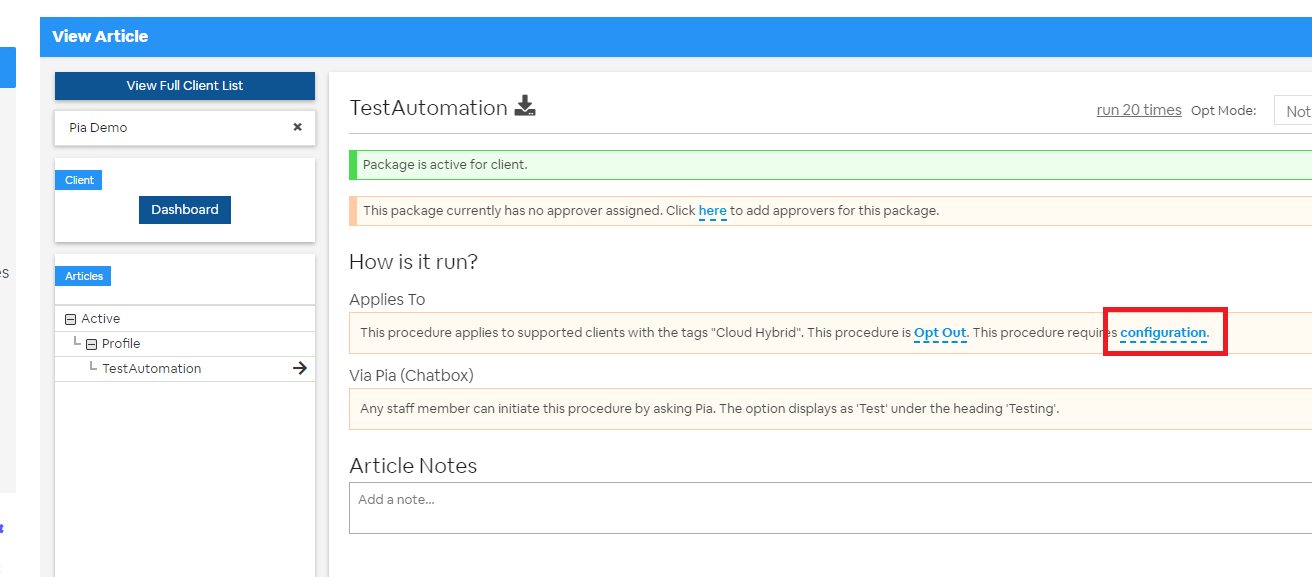
Property Description: The static name of a form which will be used to allow per-client configuration via the Client Configuration screen in the Pia Partner Portal.
Once a configuration form is specified, it can be configured in the client dashboard screen as shown below:
Output Properties
There are 2 properties which the Client Filter condition makes available.
Property Name: client_id
Property Description: This will return the client id for the client context which Pia Chatbot is running.
Most of the time this will return the same value as the $ctx_client_id variable. Unless you are using the property for this purpose, you should use the $Ctx_Client_Id variable in most cases.
Property Name: form
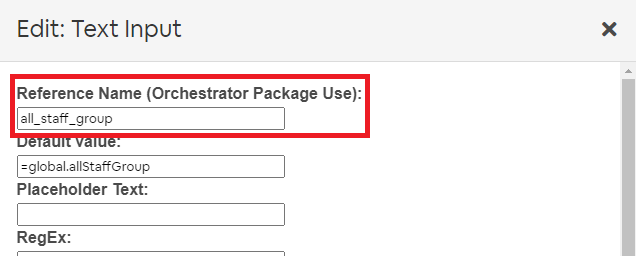
Property Description: This will return a JSON string containing the result of the filled form configured for the current client context (e.g. client linked to the ticket). This will always have a value if your Client Filter Condition had a variables_form set.
Typically, you would access the fields directly in your form by using the syntax "=client_filter.form.FIELD_REFERENCE_NAME" - where FIELD_REFERENCE_NAME is the reference name of the field you set in your form as per the screenshot below: