Intro
Pax8 is a Cloud Service Provider Licensing service. This page guides you through the process of setting up an integration via the Pax8 API.
For any assistance, feel free to reach out to the Pia Team via Partner Support.
Prerequisites
You will need the following details before setting up your Pax8 integrations.
- A valid email address that can be authenticated via Pax8 API
Set Up Process
Here is a quick intro to setting up a new Integration. Details for the fields specific to each service are on the pages linked below.
Summary of the set up process
- Set-up Integration
- Test Integration
Set-up Integration
Log in to your Pia portal.
In the left menu click on Integrations
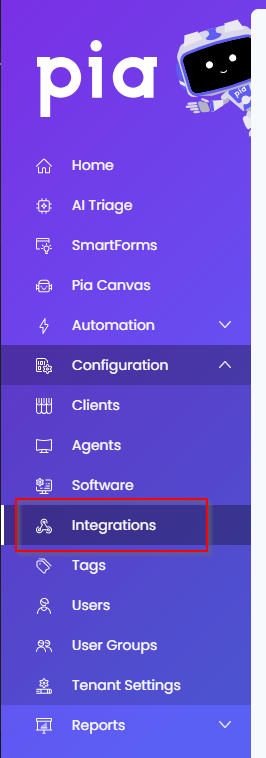
The integration page opens.
Search for Pax8 using the search bar at the top.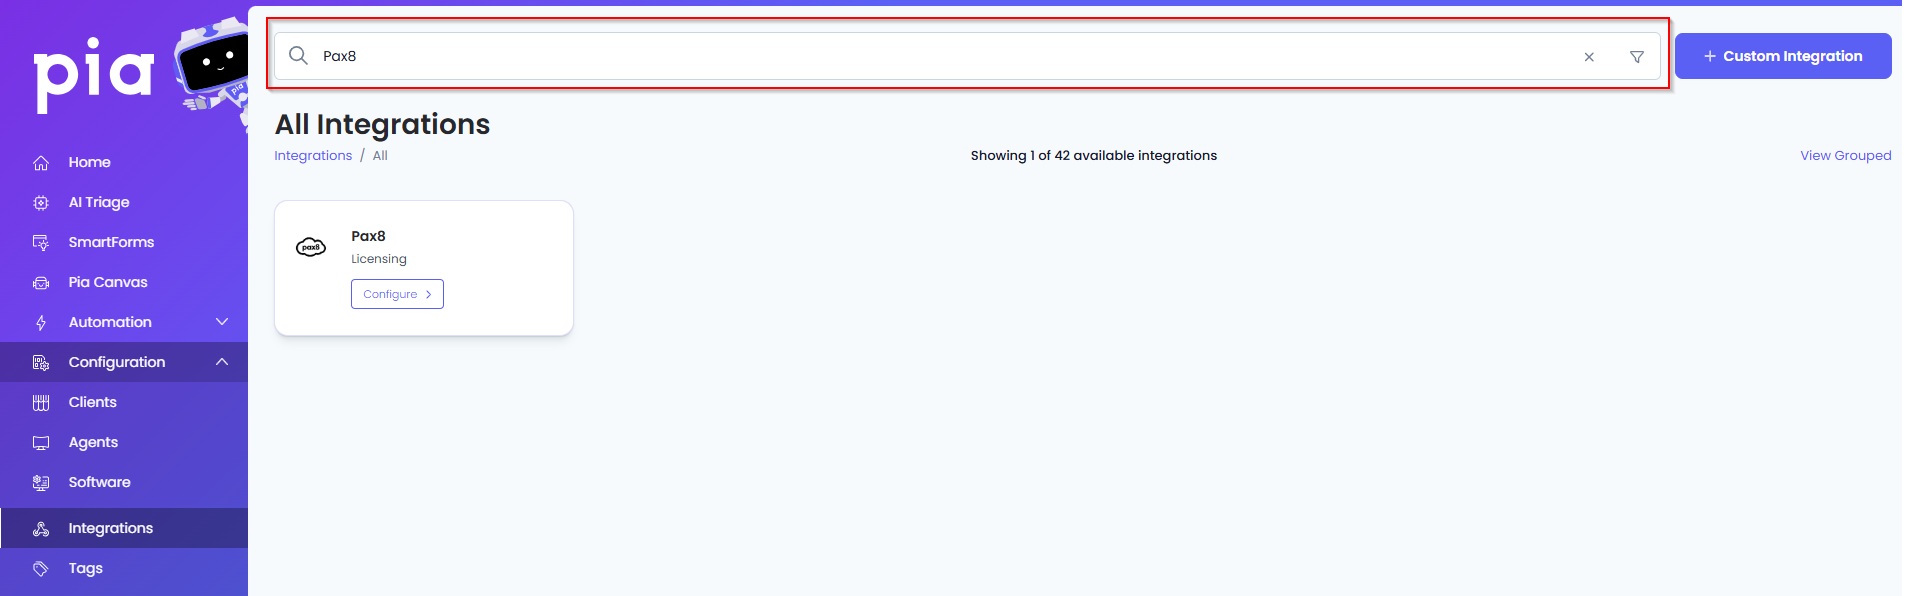
Or, click on the "View All" button available in the All Integration section.

This will open up a screen that displays all the available integrations where you can navigate to Pax8.
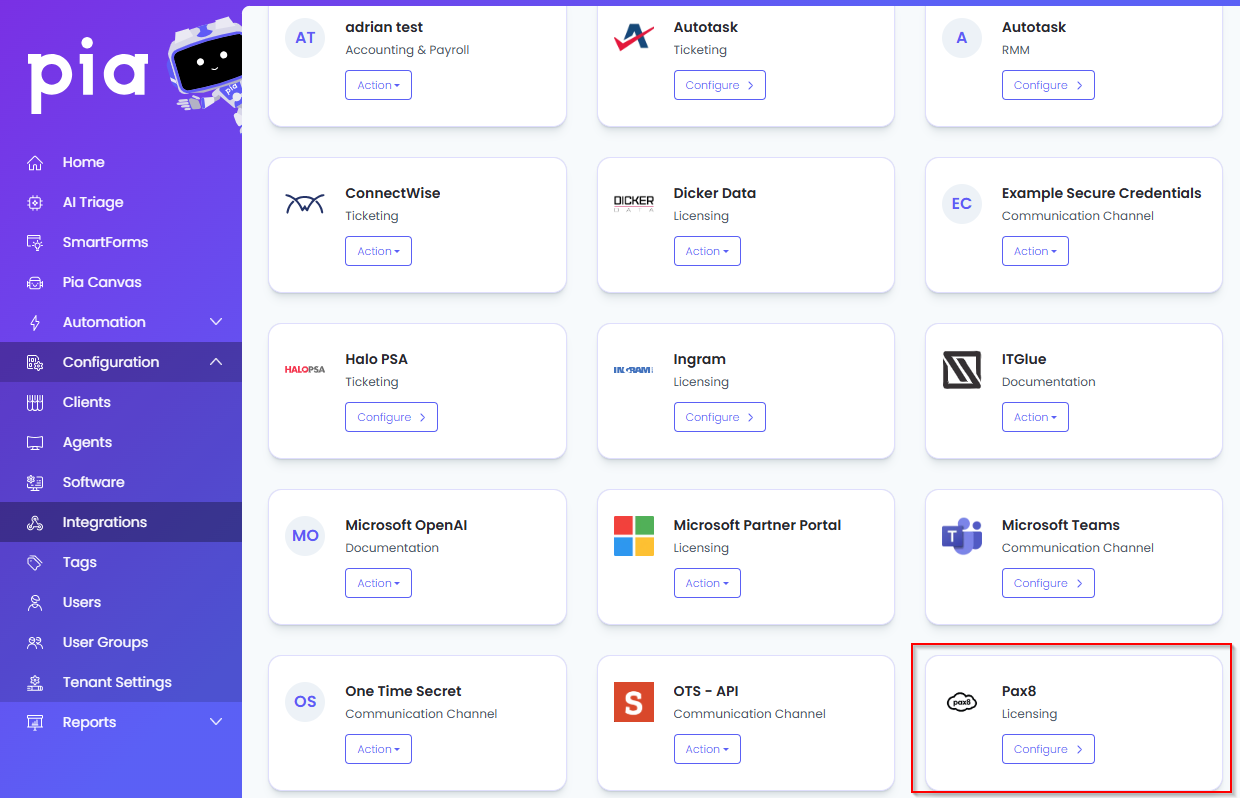
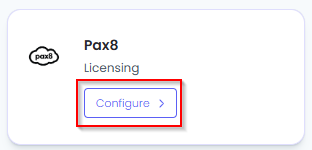
Click on the "Configure" button available in the widget for Pax8. This will take you to the configuration page for Pax8.
In this page, you can add a friendly name for the configuration in the "Configuration Name" field.
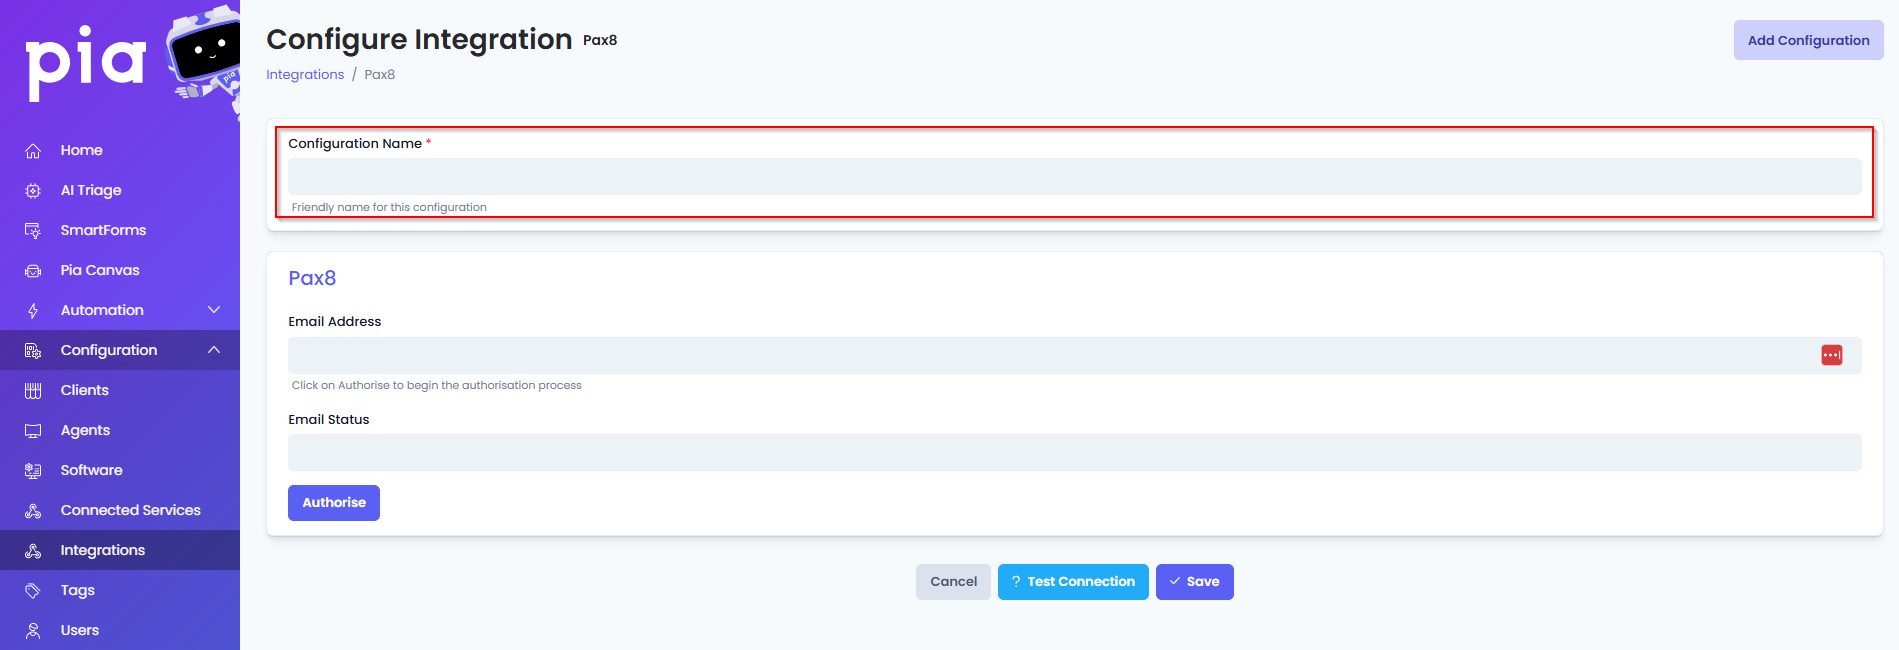
You will also see the following fields that need to be configured for Pax8.
- Email Address: This field will auto populate with the authenticated email address.
- Email Status: This field will auto populate based on the authentication status of the user account that has been used.
- Authorize: Click this button to authenticate your user account via OAuth mechanism for Pax8.
Click Save to commit the settings.
Test Integration
After setting up your Integration for Pax8 you will need to test the connection works.
Click the Test Connection button to confirm the Integration has been configured correctly.

You should receive a Connection Successful! popup box. If you receive a Can't connect to service. message, double-check the configuration details and try again.
The Pax8 Integration configuration is now complete.