Intro
Microsoft Partner Portal is a Licensing service. This page guides you through the process of setting up an integration via the Microsoft Partner Portal API.
For any assistance, feel free to reach out to the Pia Team via Partner Support.
Prerequisites
You will need the following details before setting up your Microsoft Partner Portal integrations. (More details about these items can be found where you enter them in the sections below.)
- API Key
- App ID
Obtaining the API Credentials from Microsoft Partner Portal
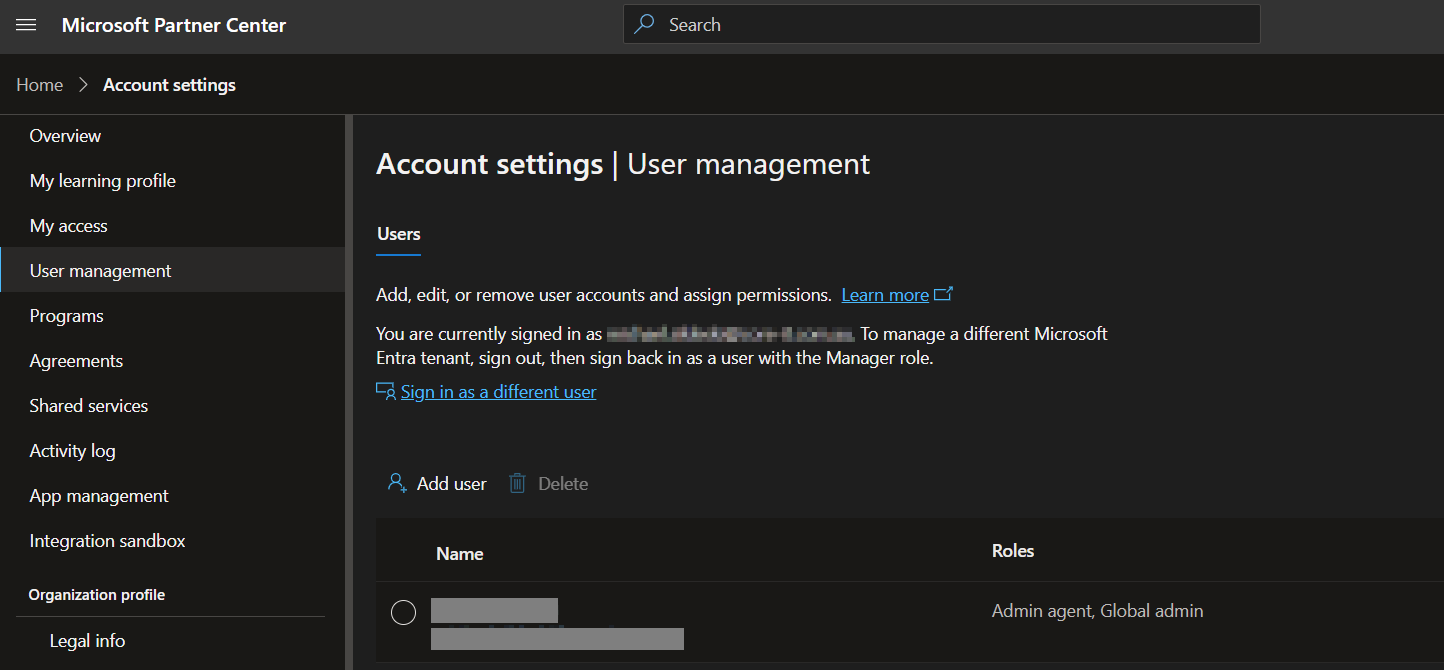
Please note that you need to be a Global Administrator to retrieve the configuration values.
A short process is included below, however please be aware that the vendor application may change and you would be best to consult the vendor documentation for this information.
- Go to https://partner.microsoft.com
- Click on the "Gear" icon in the top right, and go to "Account settings"
- Go to "App Management" on the left hand menu
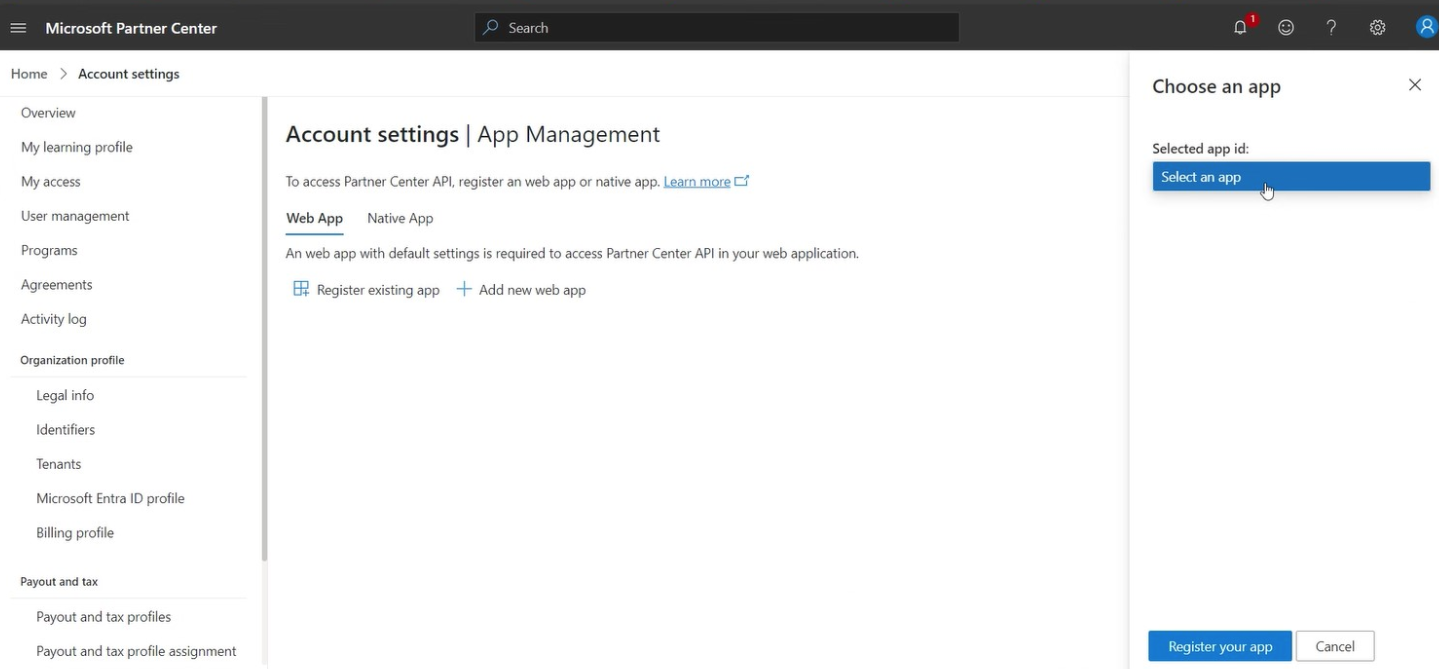
- If you do not have a "Web App" registered, Click the Add new web app button and follow the prompts.
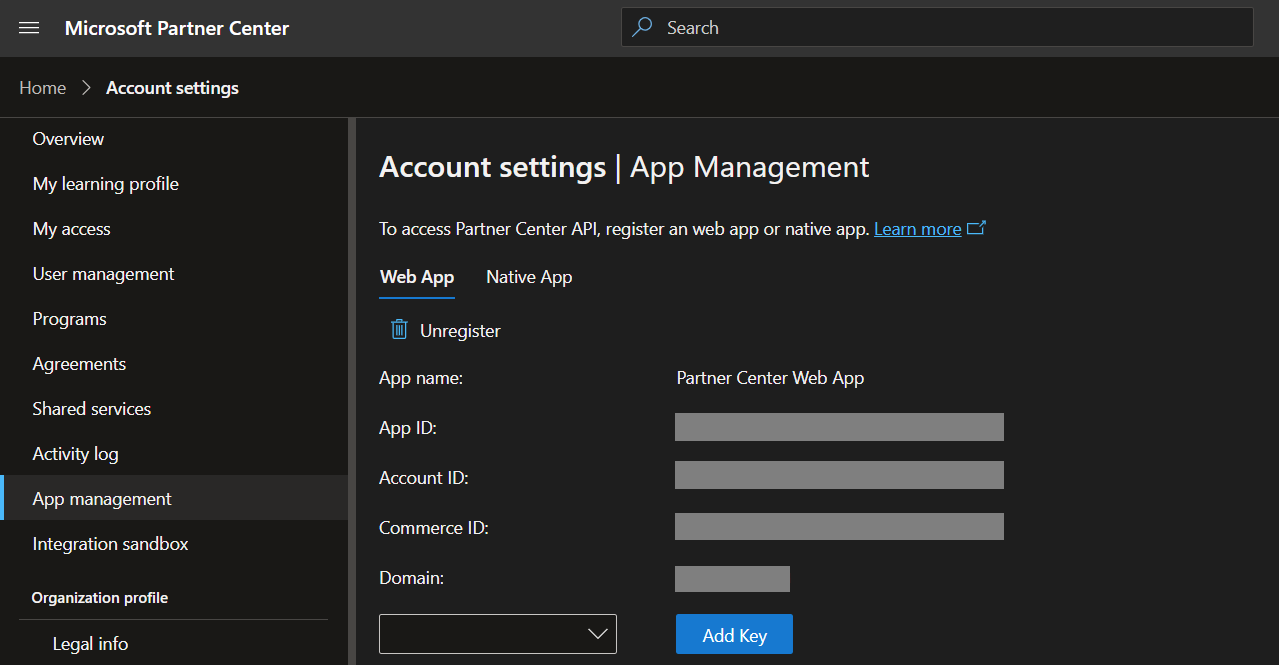
 4. Select the drop down menu next to the "Add Key" button and select a Duration for the new key, then click the "Add Key" button.
5. Store the newly created Key in your companies password vault.
Set Up Process
Here is a quick intro to setting up a new Integration. Details for the fields specific to each service are on the pages linked below.
Summary of the set up process
- Set-up Integration
- Test Integration
Set-up Integration
Log in to your Pia portal.
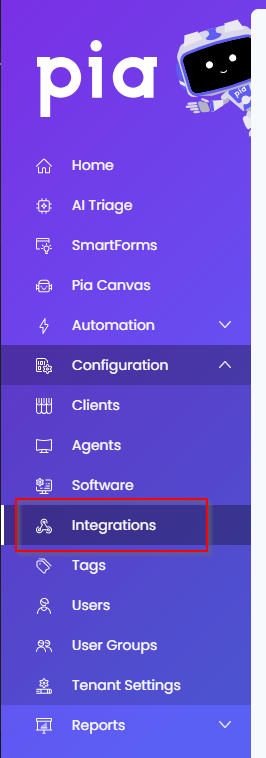
In the left menu click on Integrations
The integration page opens.
Search for Microsoft Partner Portal using the search bar at the top.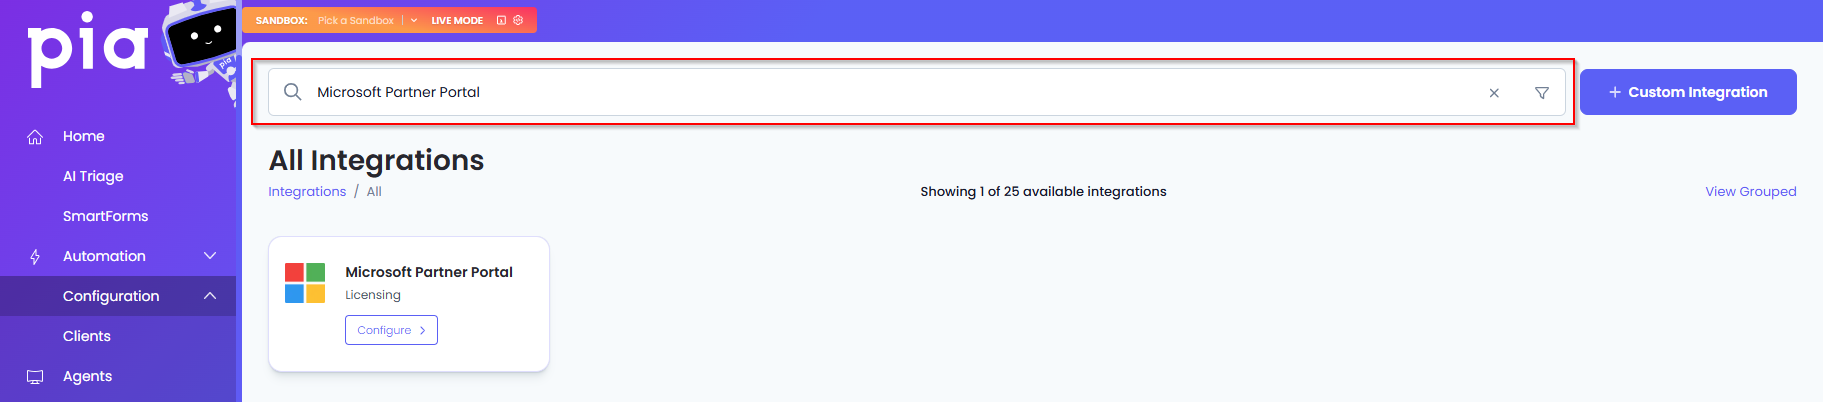
Or, click on the "View All" button available in the All Integration section.

This will open up a screen that displays all the available integrations where you can navigate to Microsoft Partner Portal.
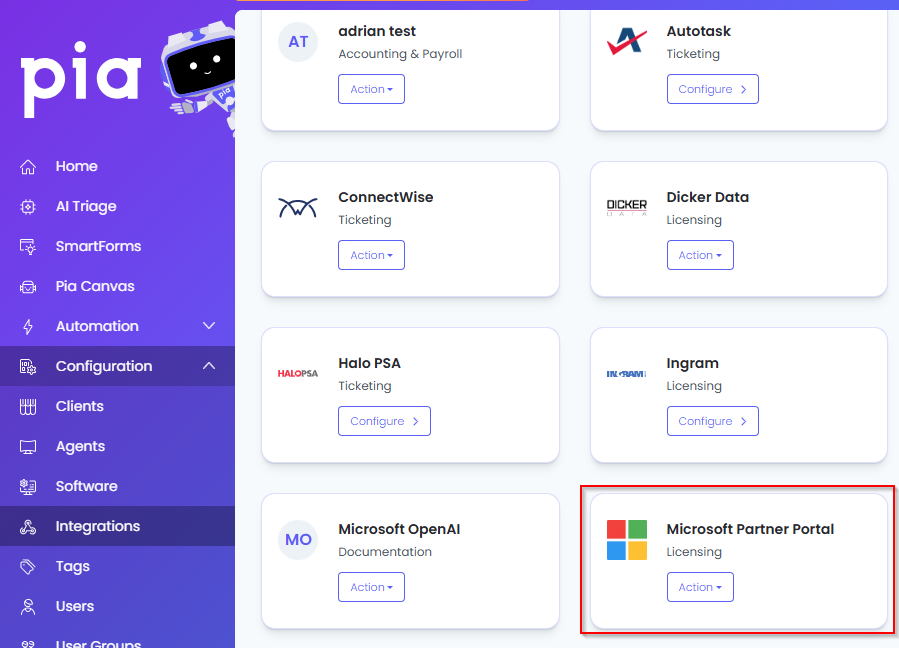
Click on the "Configure" button available in the widget for Microsoft Partner Portal. This will take you to the configuration page for Microsoft Partner Portal.

In this page, you can add a friendly name for the configuration in the "Configuration Name" field.
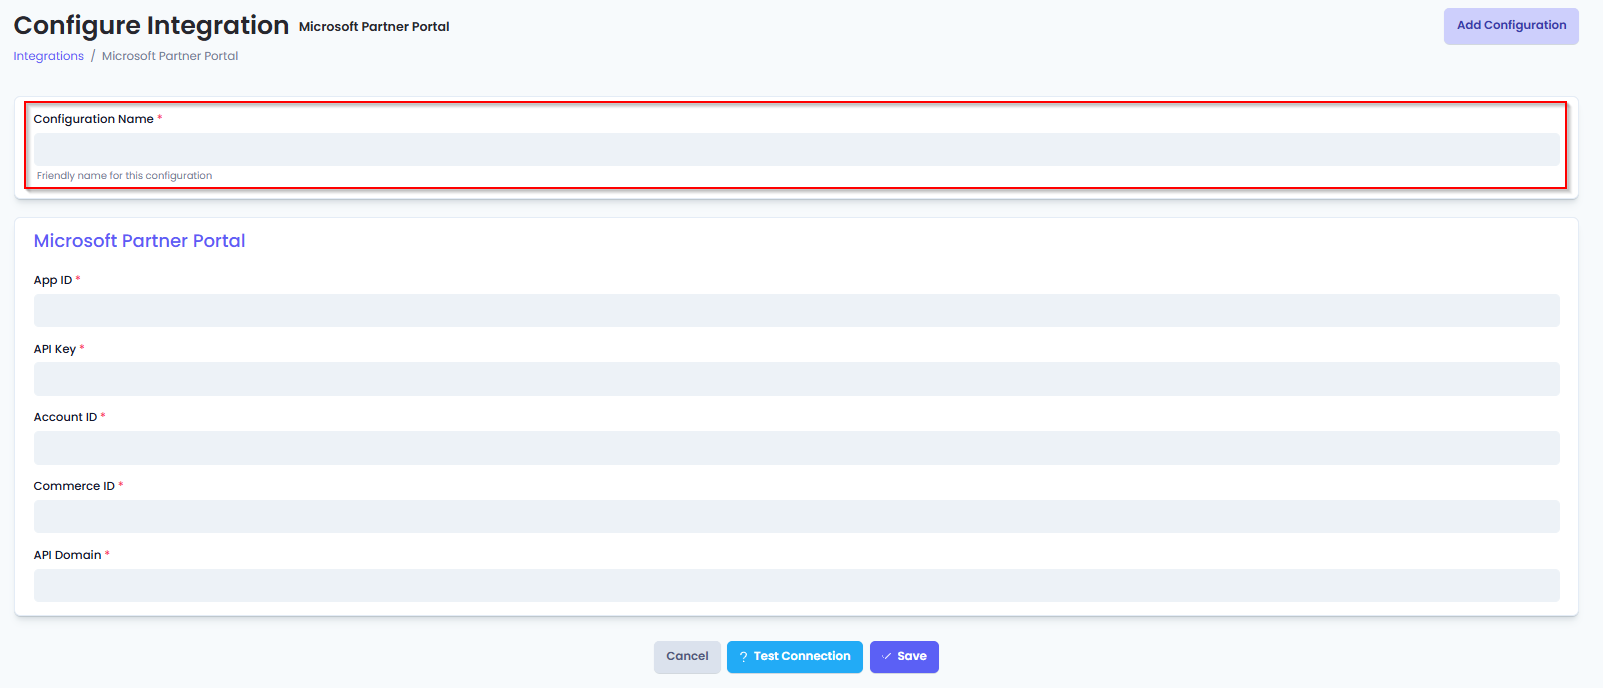
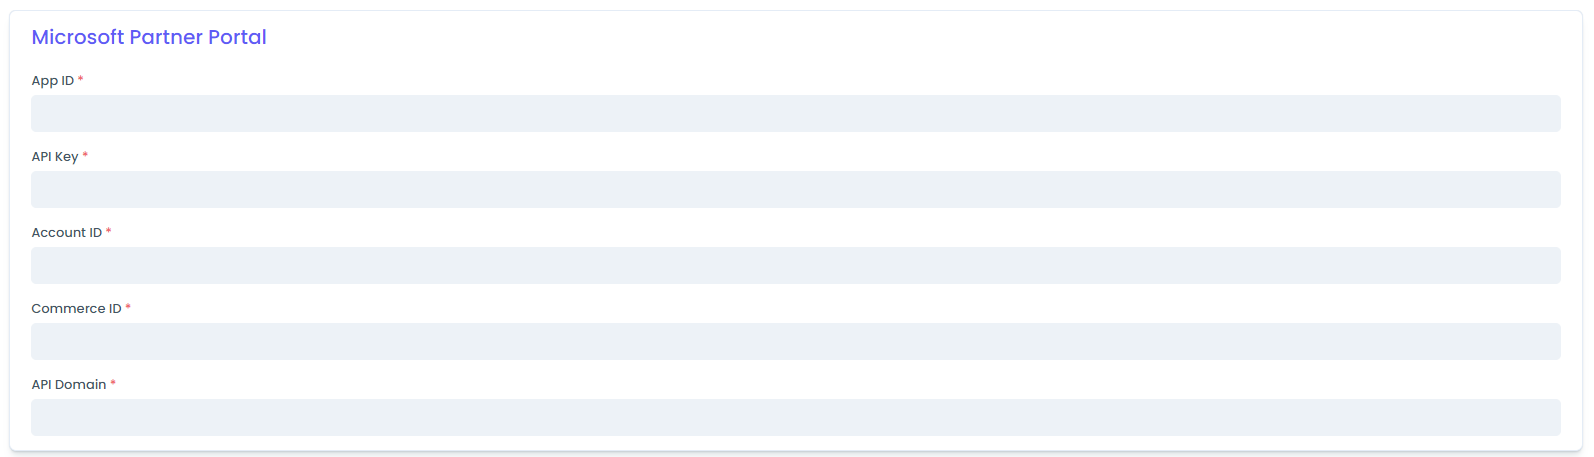
You will also see the following fields that need to be configured for Microsoft Partner Portal.
- App ID: Enter the Application ID received from your Microsoft Partner Portal account.
- API key: Enter the API key to access the Microsoft Partner Portal.
- Account ID: Enter the Account ID that has access to the portal.
- Commerce ID: Enter the Commerce ID available in the Web App Tab of the App management screen
- API Domain: Enter the Domain available in the Web App Tab of the App management screen
Click Save to commit the settings. (If any mandatory fields have been left blank you will receive an error message, and the missed field will have a red box around them.)

Test Integration
After setting up your Integration for IT Glue you will need to test the connection works.
Click the Test Connection button to confirm the Integration has been configured correctly.

You should receive a Connection Successful! popup box. If you receive a Can't connect to service. message, double-check the configuration details and try again.
The Microsoft Partner Portal Integration configuration is now complete.