Mail Send Functionality
For the functionality of select packages and for the Pia Portal to be able to send email notifications to your staff, the following must be set in your environment. These permissions must be applied regardless of your internal company's environment type.
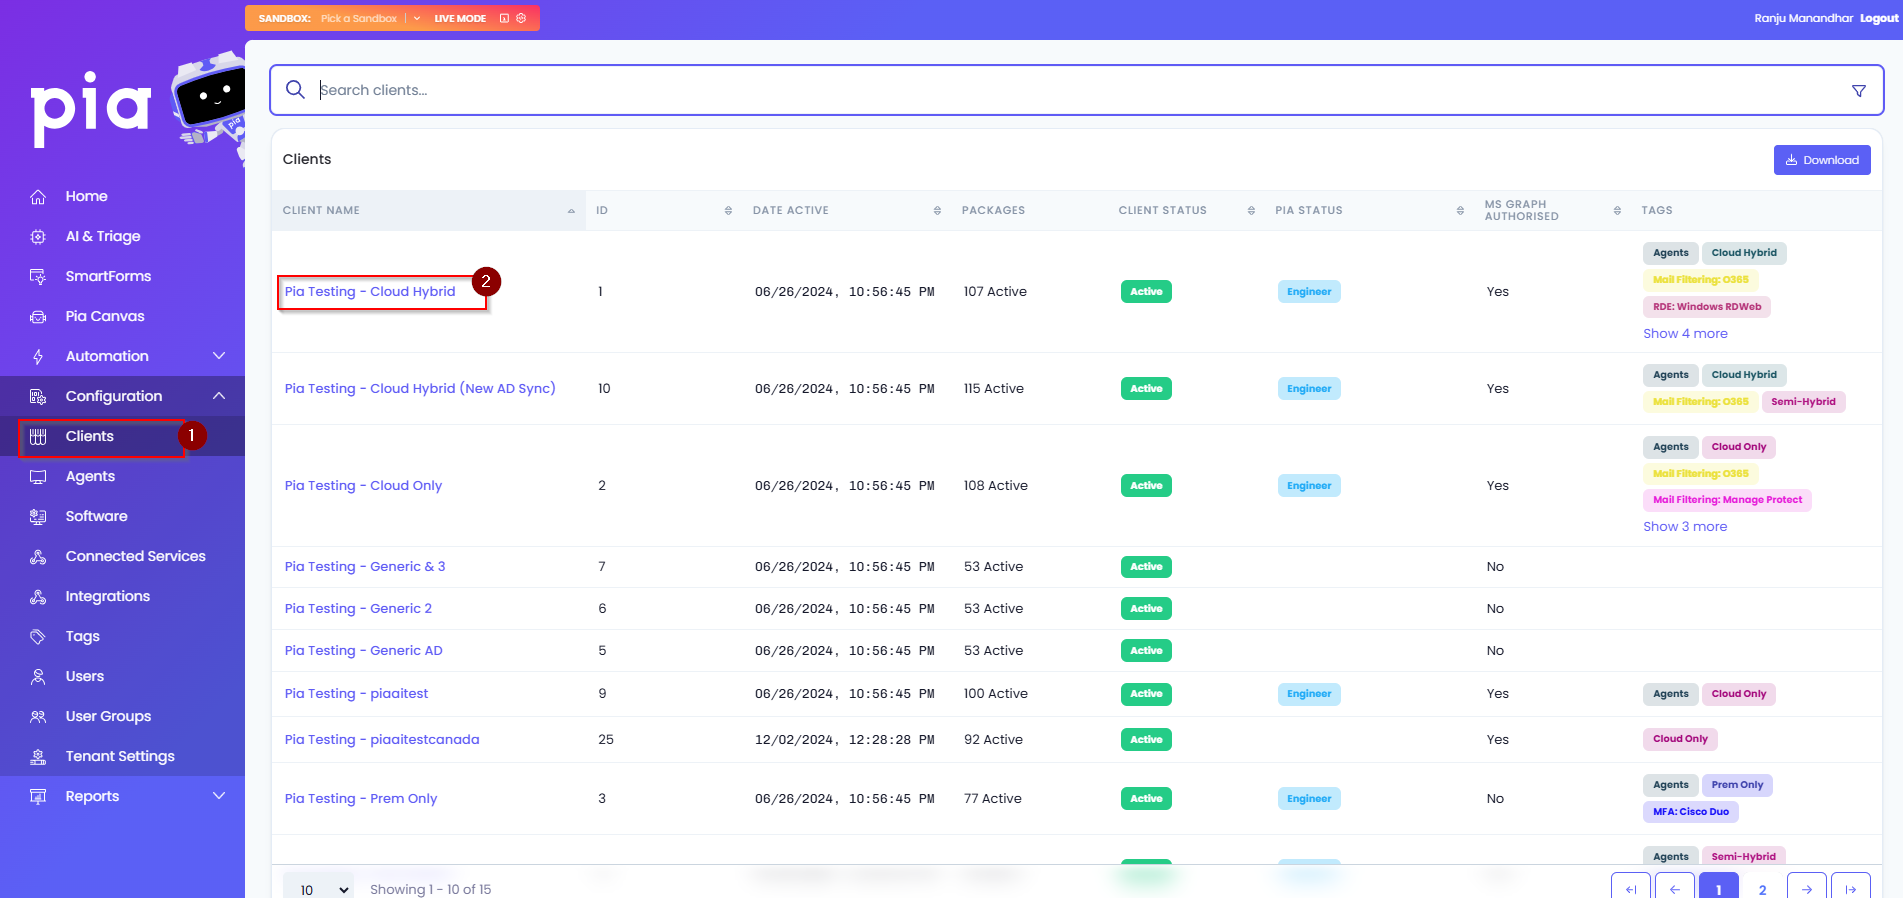
- Click on "Clients" on the left hand menu and then choose your internal company's Client from the list.
Note 2: If your internal company has only been synced for this purpose and has not had the Microsoft Graph API permissions authorised as per that section above, there is a separate process underneath this one you will need to follow.
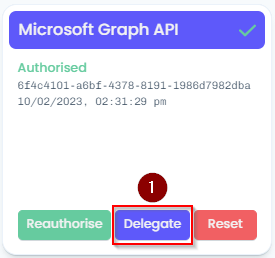
- Click on the “Delegate” button on the Microsoft Graph API tile.
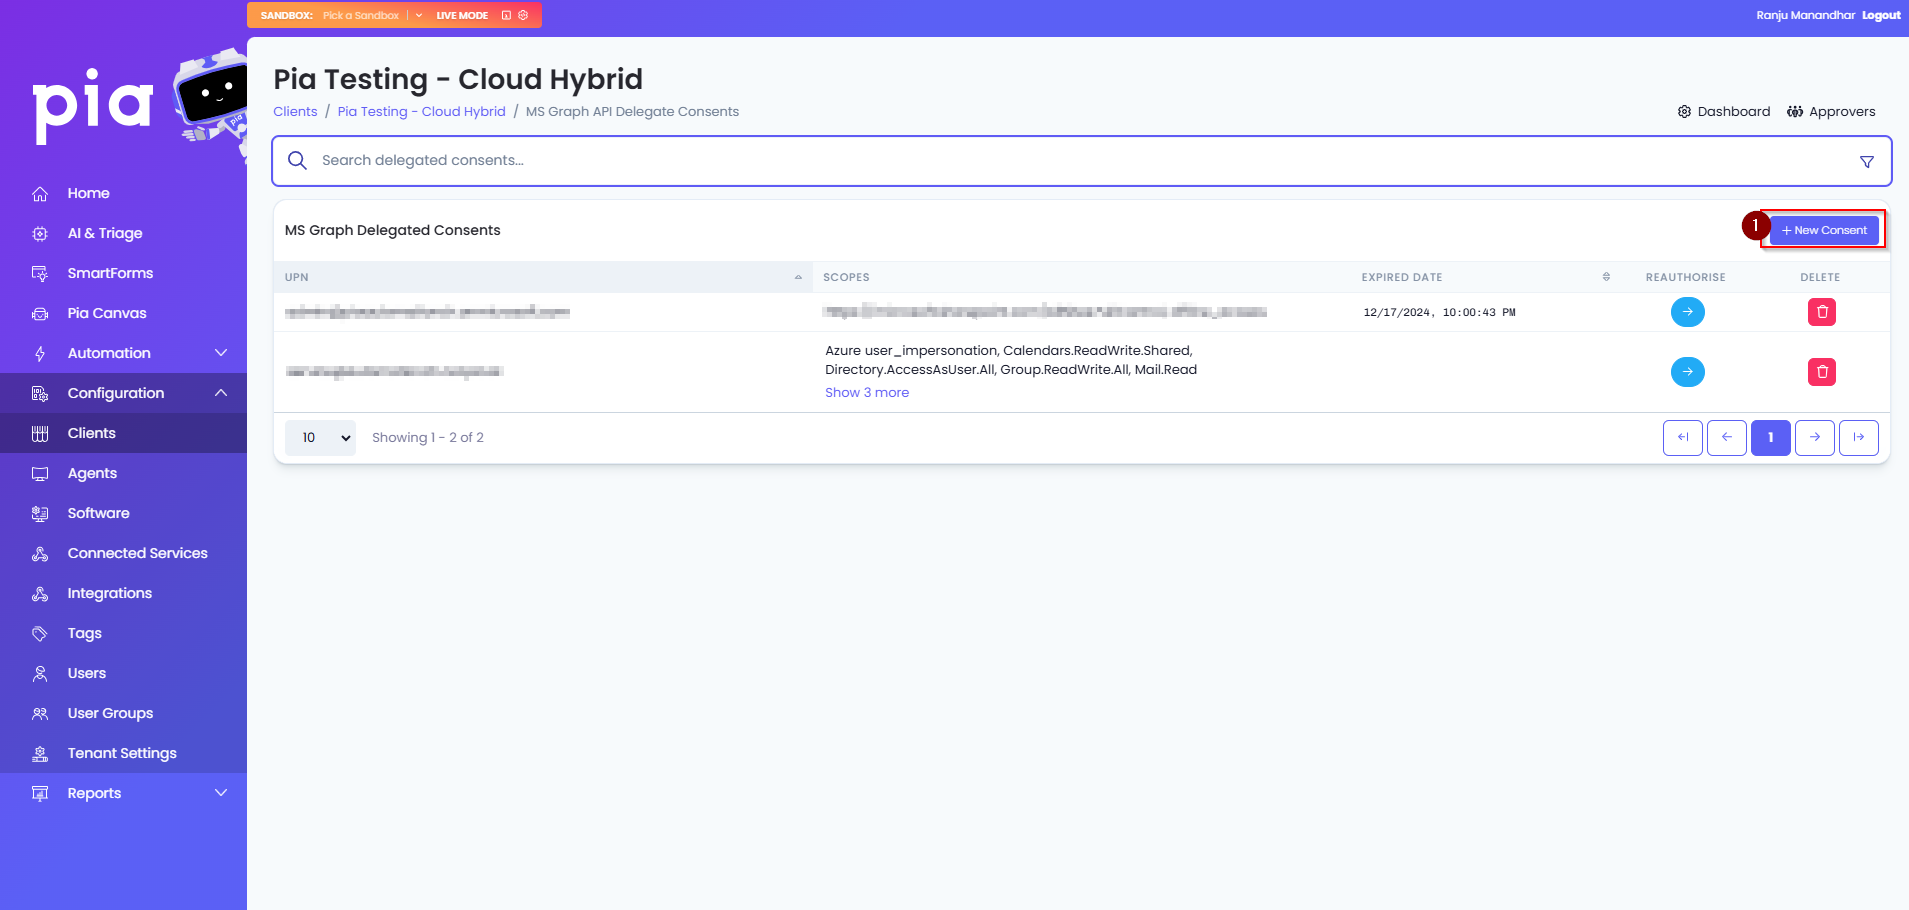
- Click on the "New Consent" button.
- Turn on/set to "Yes" the following permissions on the page and then click “Authorise”. • Mail.Send

Enter in the credentials of a service account in your tenant which can be used to send the email notifications into the login prompt.
After completing the Delegate Consent you will see the UPN of the Microsoft 365 account used in the Delegate Consent window.
- Advise Pia's Partner Integration Manager that you have finished applying the Delegate Consent permissions so they can apply some additional configuration on the backend of your Pia Portal.
Mail.Send Only Permissions
The guide below should be followed in the scenario where you have synced your internal company into the Pia Portal for the sole purpose of configuring the Mail.Send permissions. This is applicable where you do not intend to deploy/use Pia internally and have not Authorised the Microsoft Graph API permissions against your own internal Azure Tenant(see Microsoft Graph API Authorisation section above).
- Click on "Clients" on the left hand menu and then choose your internal company's Client from the list.
- Click on the “Delegate” button on the Microsoft Graph API tile.
- Click on the "New Consent" button.
- Turn on/set to "Yes" the following permissions on the page and then click “Authorise”. • Group.ReadWrite.All • Mail.Send • Directory.AccessAsUser.All

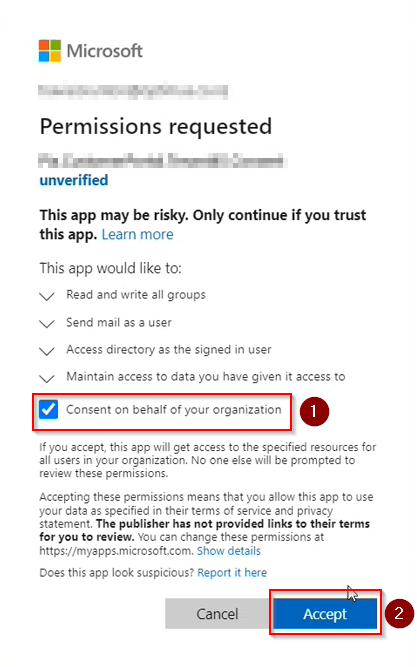
In the Microsoft 365 sign-in page, enter in the credentials of the Global Administrator account and sign-in.
When prompted, choose to "Consent on behalf of your organization" and then click "Accept".
Close the Delegate Consents page and then refresh the browser.
Click on the "Delegate" button again to see the delegated consent permissions in the list.
Repeat Steps 3 through to 8 again for the service account you want to use to send emails from.
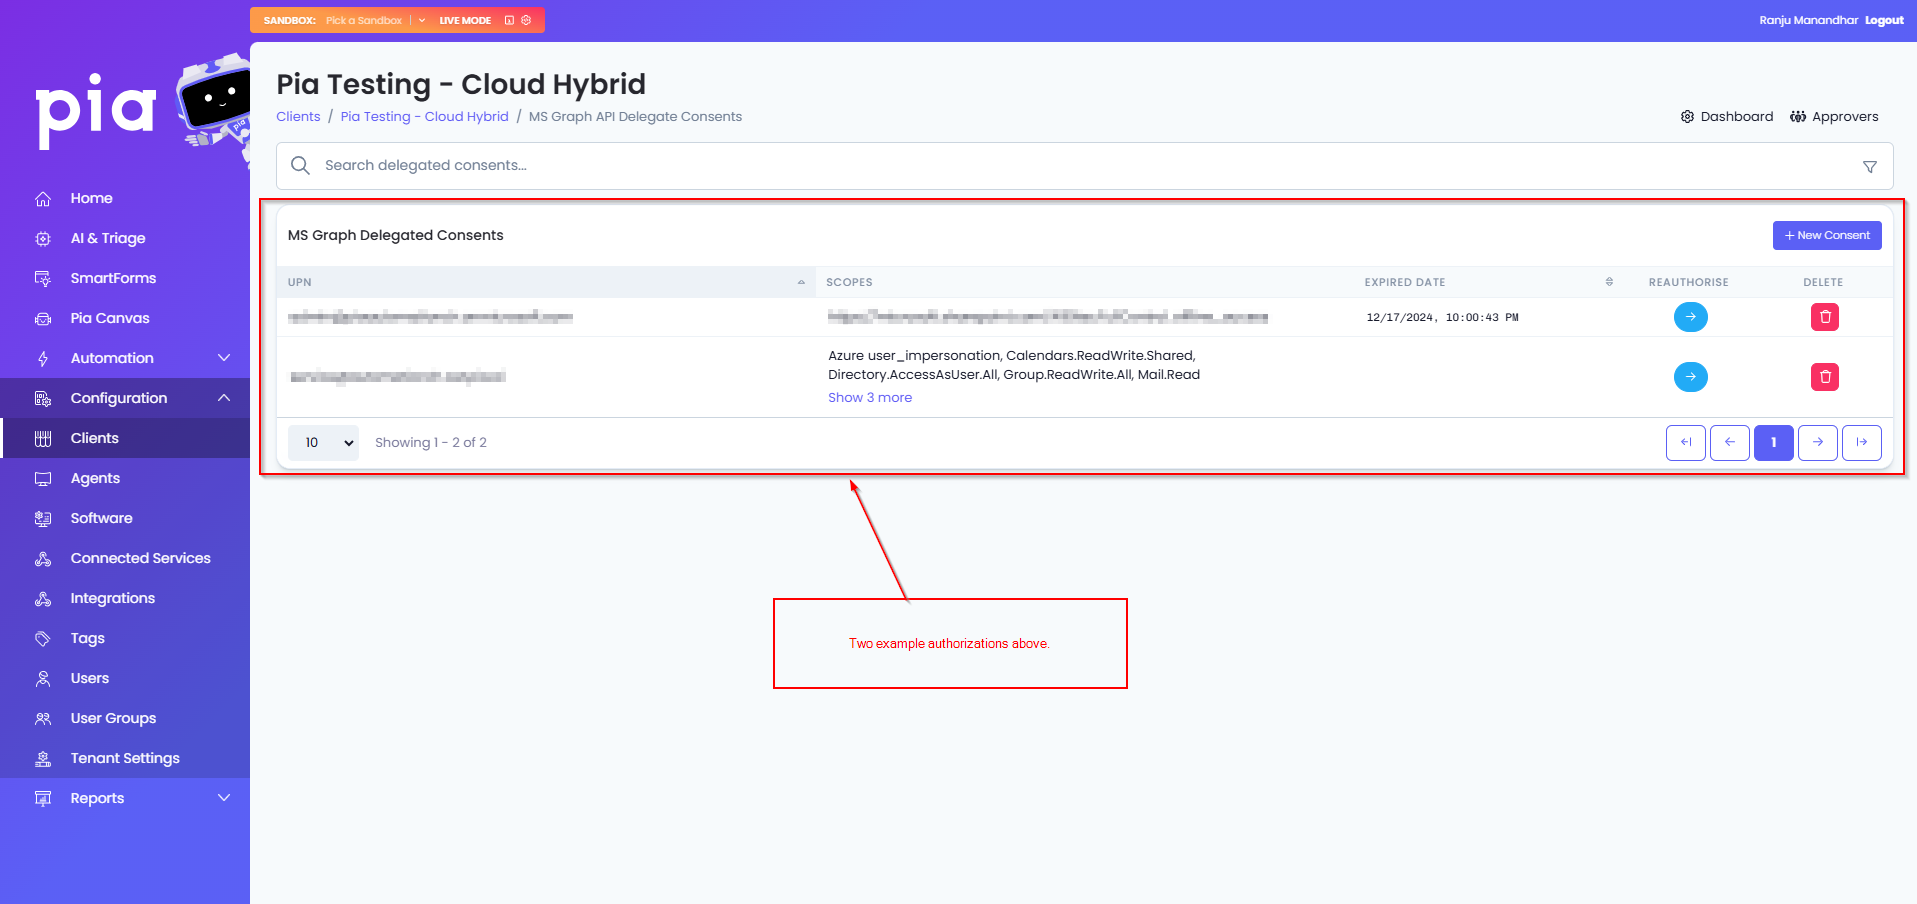
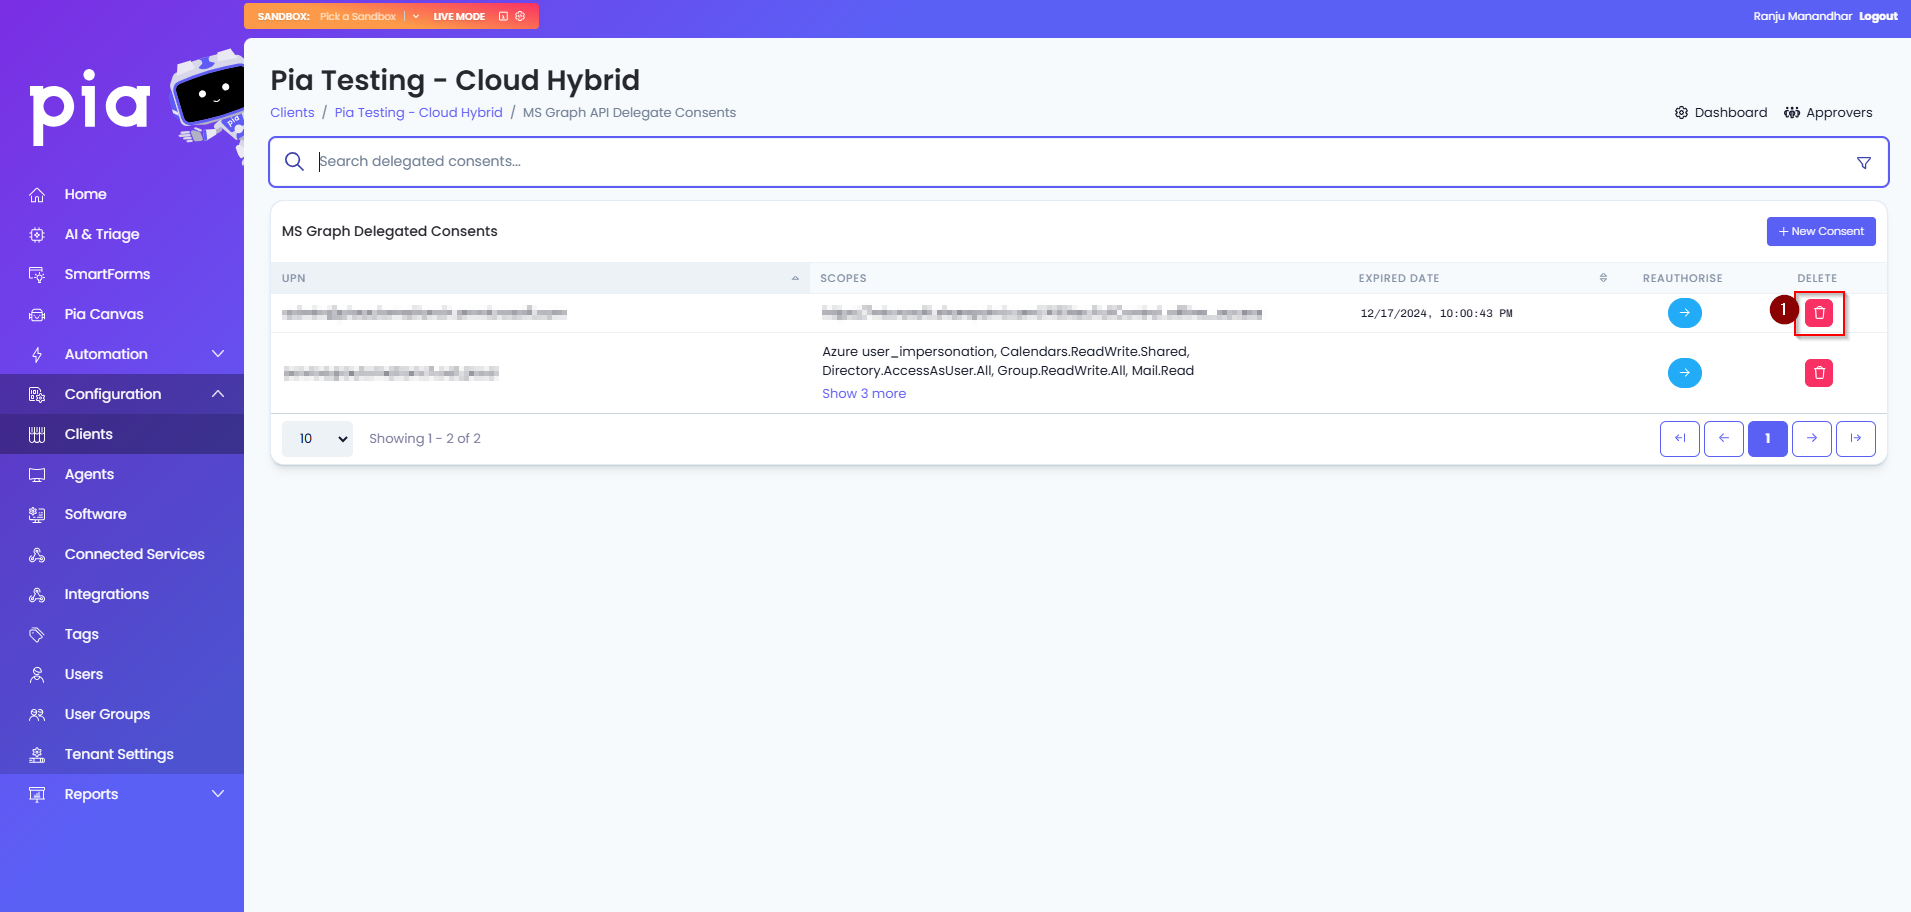
- Once completed, you will see two delegated consent permissions in the list with the same "Scopes"(permissions), one for your Global Admin account and one for the service account Pia will be using to send emails.
- Delete the permissions for the Global Admin account by clicking on the "bin" icon on the Global Admin account's row in the list and then close the window.
After you have granted the Permissions for the Mail.Send Functionality, the Solutions Engineer taking you through the Onboarding will configure these three global variables that will allow you the use of the Mail.Send Permissions via your Pia Tenant.
| Variable Name | Value |
|---|---|
| Mail_Send_Mode | Client |
| Mail_Send_UPN | The value for the UPN will be the account that you have delegated Pia for Mail.send according to the instructions above |
| Mail_Send_ID | Pia Client Id which the Mail.Send Delegate Consents were applied to according to the instructions above |
This is typically actioned by the Solutions Engineer after your implementation session.